Quite some time ago, someone gave me a glow-in-the-dark beaded curtain. It was a tangled mess, but I thought my niece may want it, so I took it when they offered it. Turns out, she didn't, so I was left with a giant, glow-in-the-dark tangle.
After a few months of ignoring it and tossing it angrily out of my way every time it was in front of something I needed to get to, (which seemed like always), I finally decided to do something with it and made this:
I still haven't actually stuck a candle holder in it, but I'm thinking it would work great with any of the various styles of cheap-O dollar store ones I've seen around, or even the cute little LED lanterns. So, how'd I do it? Keep reading!
This is what I started out with.
A large pile of tangled, 90's-flashback-giving, glow-in-the-dark disappointment. The photos flatter it, really.
I started with some metal rings. I have no idea what these are. They were just hanging out in my craft stuff and I have no clue where they came from, but I had a few of various sizes, so I said "hey, we'll go with that." For the largest one, that I don't know if I remembered to take photos of or not, I used one of those cheap, silvertone choker wires.
Next, I cut a bunch of lengths from the beaded curtain. I made sure they were all a bit different than one another, because I didn't want perfect, uniform dangly-thangs.
Then, I took my glue gun and started gluing them to the ring.
I started by putting them directly across from each other, then filling in gaps from there so that I could be sure they were fairly evenly spaced.
It is prudent to do a shake-check to make sure you used enough glue to withstand wind, if you'll be hanging them outside. Yeah. That's totally it. I wasn't just playing with it and taking photos because I'm lame.
Here's the ring with all the dangly-thangs glued on.
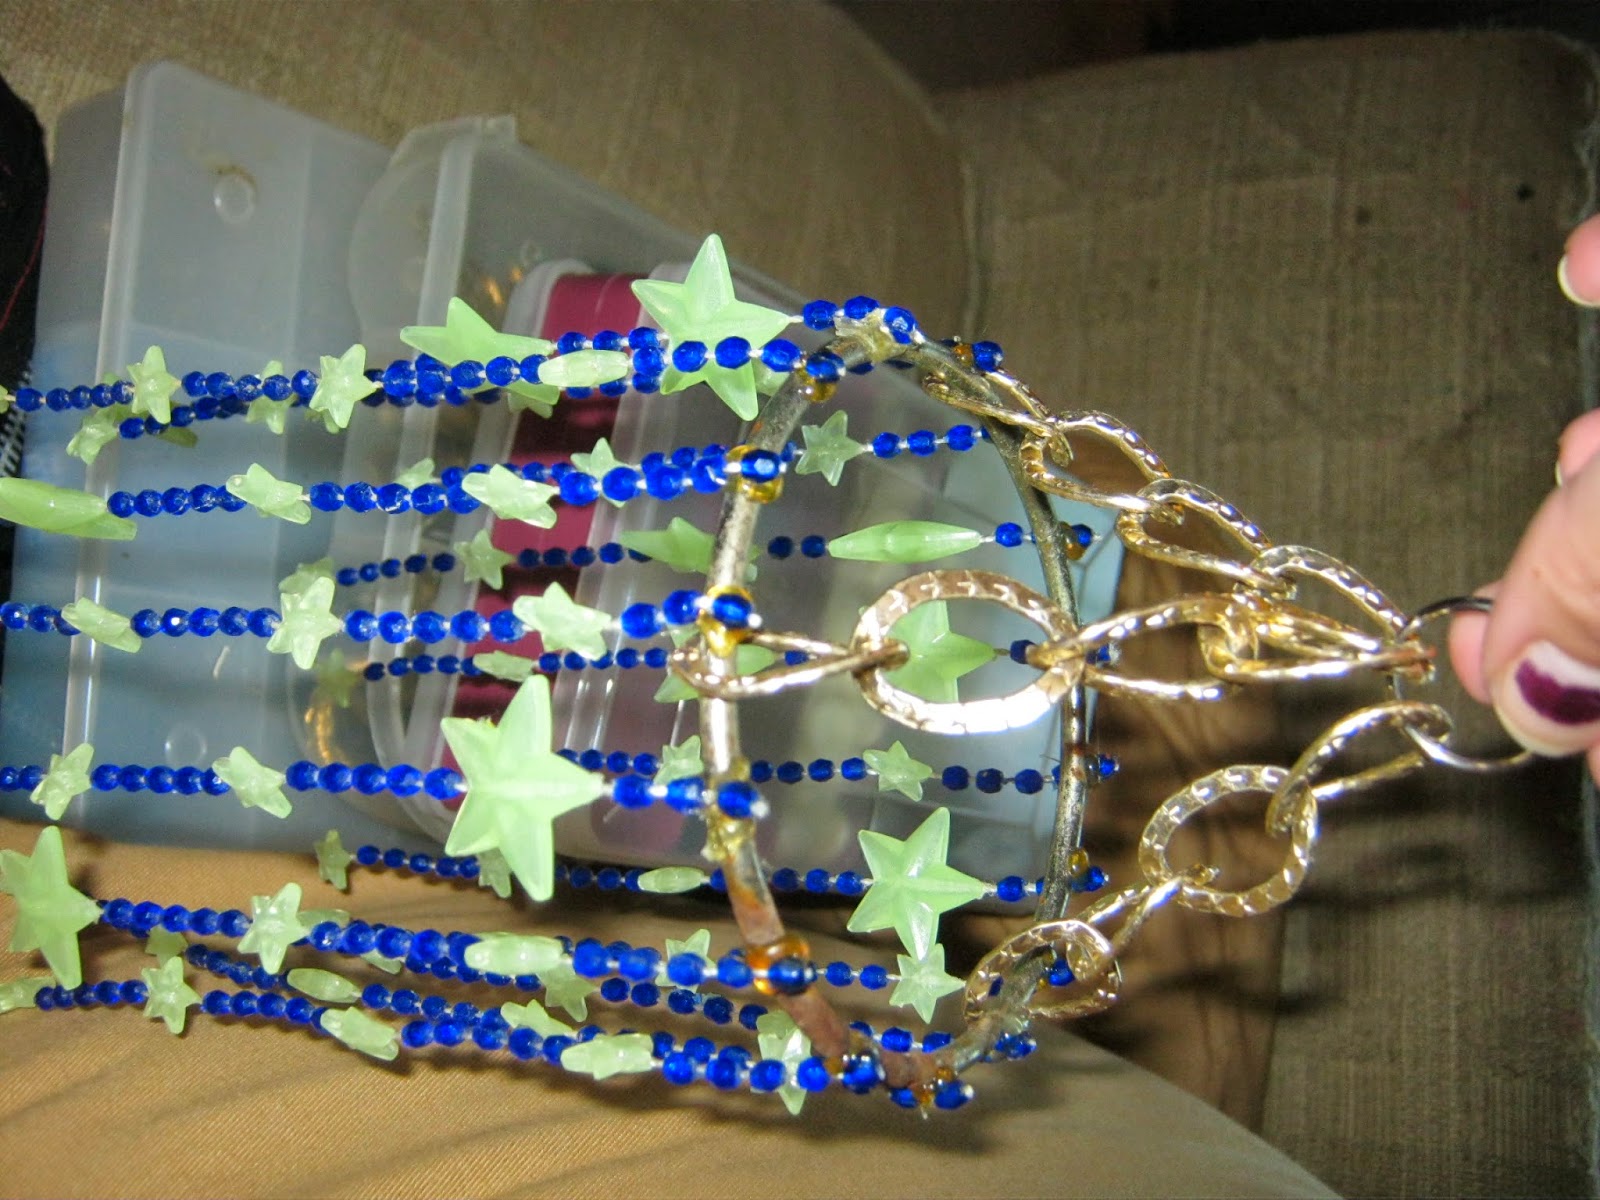
Next, I added some chunky chain I had in my craft stash. I just opened the links and then closed them around the ring in between rows of danglies.
Then, I brought them all up to where they formed a triangle and hooked a keyring around all of them.
Like this! If you crane your head to the right you can see it!
Then, hang that puppy up outside or somewhere else with sufficient ventilation...
...add a nice coat or two of spray paint of your choice...
And you're done! They are bright, shiny, and catch the light quite nicely!
<3WW
Listening to: "Benzin" - Rammstein