Cute crafts, nerdy crafts, frilly crafts, girly crafts, guy-friendly crafts, ALL THE CRAFTS!
Showing posts with label fashion. Show all posts

Thursday, August 14, 2014

DIY Cardigan Clips

This is a super quick and easy way to re-purpose those adorable clip-on earrings you see everywhere at thrift stores...because who the hell wears clip on earrings anymore??

I realize it is still hot as Hades in my corner of the planet, but I'm posting this anyway since some of my readers are in Australia and I think its already cold there.  Yeah.  That's what we're gonna go with.

Actually, the truth is that I only ever seem to get struck with inspiration for winter crafts in the heat of the summer and vice verse.


Seriously, tho, this is stupidly easy.  String your beads or pearls.  I just used a broken bracelet because it was the exact length I wanted.  Make sure that if you are stringing them, to tie or crimp bead the ends around a jump ring so you can use it to attach them to the earrings.


Find a good place in the back of the earring you can wrap the jump ring around, then twist it closed.


That's it!  These are super cute and give you an excuse to buy the earrings you see out and about, but can't wear.  That, and they're great for actual function when you live somewhere super windy that threatens to remove a cardigan if you don't button it up.

<3WW

Monday, July 22, 2013

Skirt Re-sizing II

I went on a skirt re-sizing kick recently.  Most of the thrift stores I shop at don't have fitting rooms and even if they did - let's be honest...I hate to try on clothes.  As a result, I had a pile of skirts in a box that needed surgery.  One was too big, two were too small, and one really needed a slip worn under it but since those are the devil in the summer, I decided to do something else that you'll see in the future....

Anyway, I figured since I was working on all these skirts, I may as well post tutorials!  I sized the poodle skirt up a size or two so it would fit, but it had an elastic waist and this one was a  bit different because I went from elastic to drawstring.


As soon as I saw this hand-made color block skirt, I knew I had to have it.  Add that to the fact that it was 2 bucks and...well, you do the math.  When I got it home and put it on, it fit but juuust barely.  It was tight and squeezed in all the wrong places, creating rolls I don't have which I don't really need help with, but I did appreciate the offer.  Since I could afford to sacrifice a little length, I decided to fix it and into the box it went until months and months later when I finally got off my lazy ass.


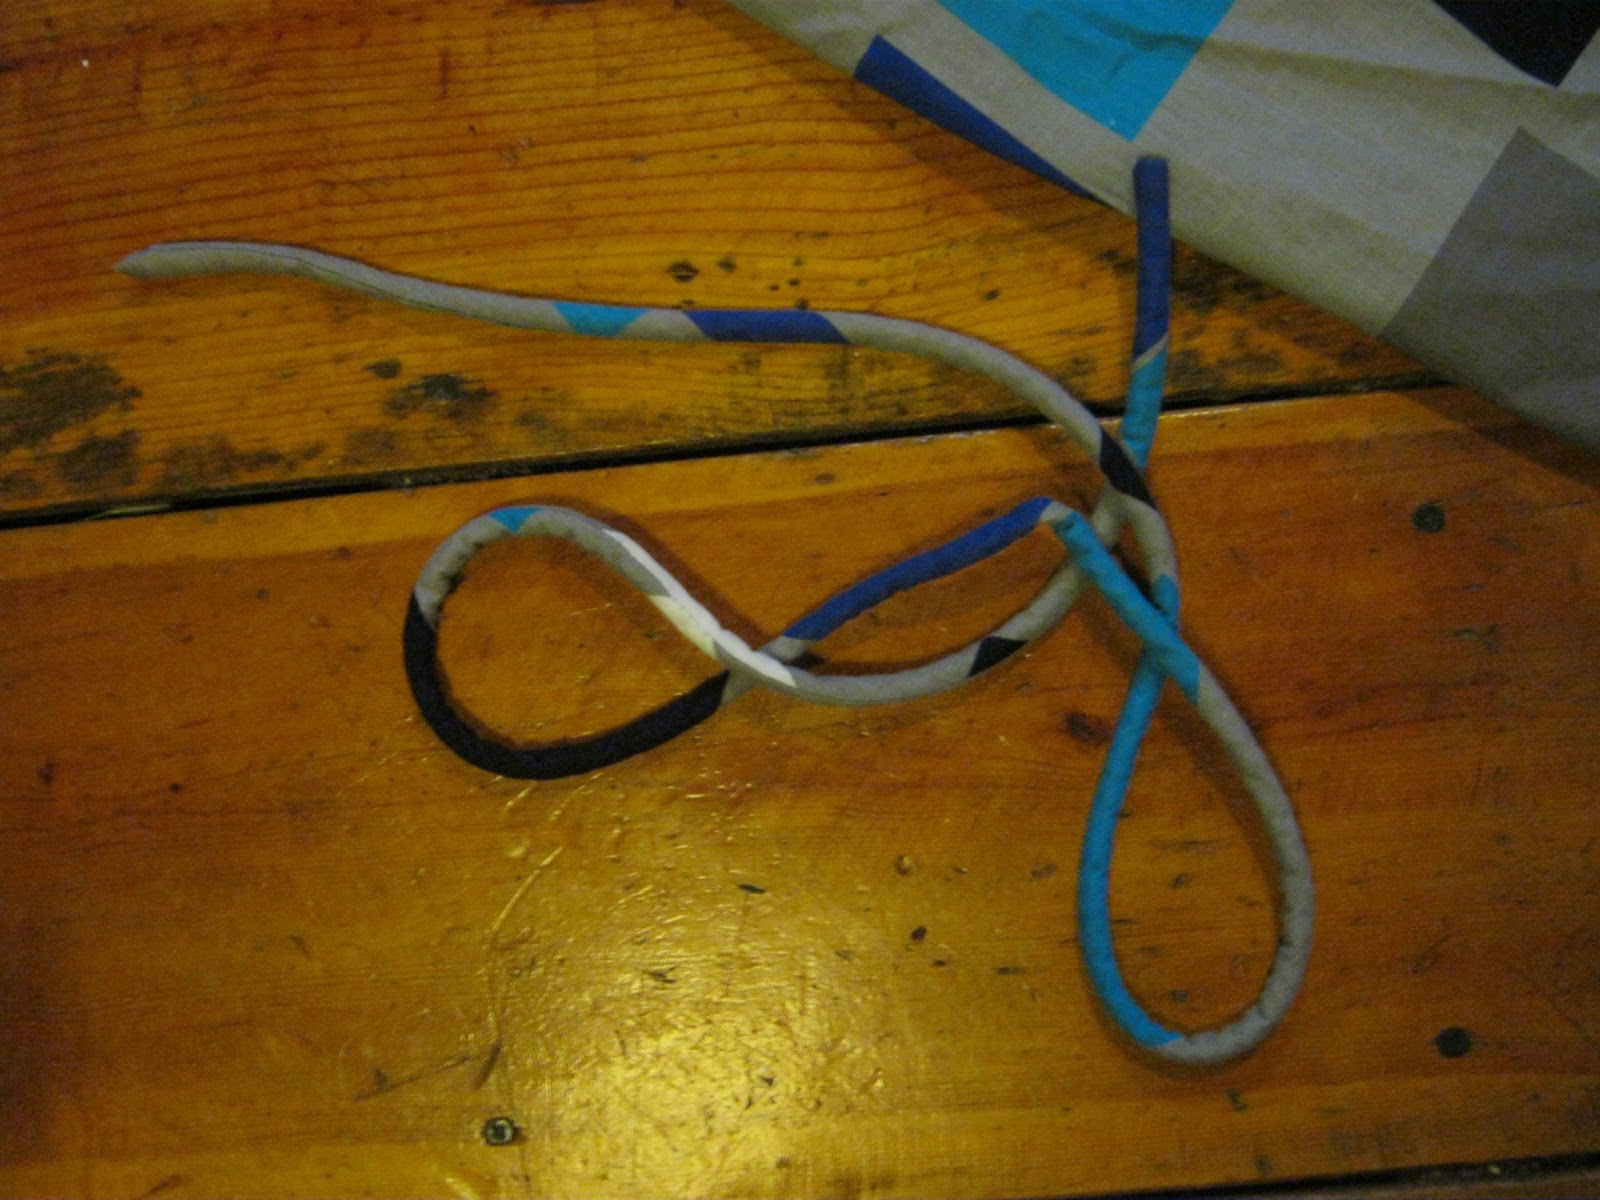
The first step was pulling this rope-thing off the front.  The skirt had an elastic waist with this for some reason stitched onto the front part of it.  It is thick and plushy and I guess you were supposed to...Tie it in a knot?  Hang your foes with it?  Either way, it wasn't working for me.


So, the first thing I did was take all that crap out of it so that once it was flat, I could use it as the drawstring.  I snipped one end of it off and yanked that rope up there out of it.  Rope wasn't enough.  They wanted a REALLY fluffy string, guys.  They packed it with this stuffing that was a bitch to get out.  I ended up shoving that chopstick through the tube, narrow end first, and working it all the way down to force all that crap out.  How they packed all that in that tiny tube then sewed it shut is totally beyond me.


Next step, I trimmed off the elastic.


Once that was done, I laid it flat on the floor, then put a skirt I had on top of it that fits like a dream.  Using that as a guide, I left a little space on each end to allow for drawstring-ing and folding over since with a drawstring skirt, I wanted it to be a bit large as I don't like the look of a drawstring that's pulled allll the way tight.


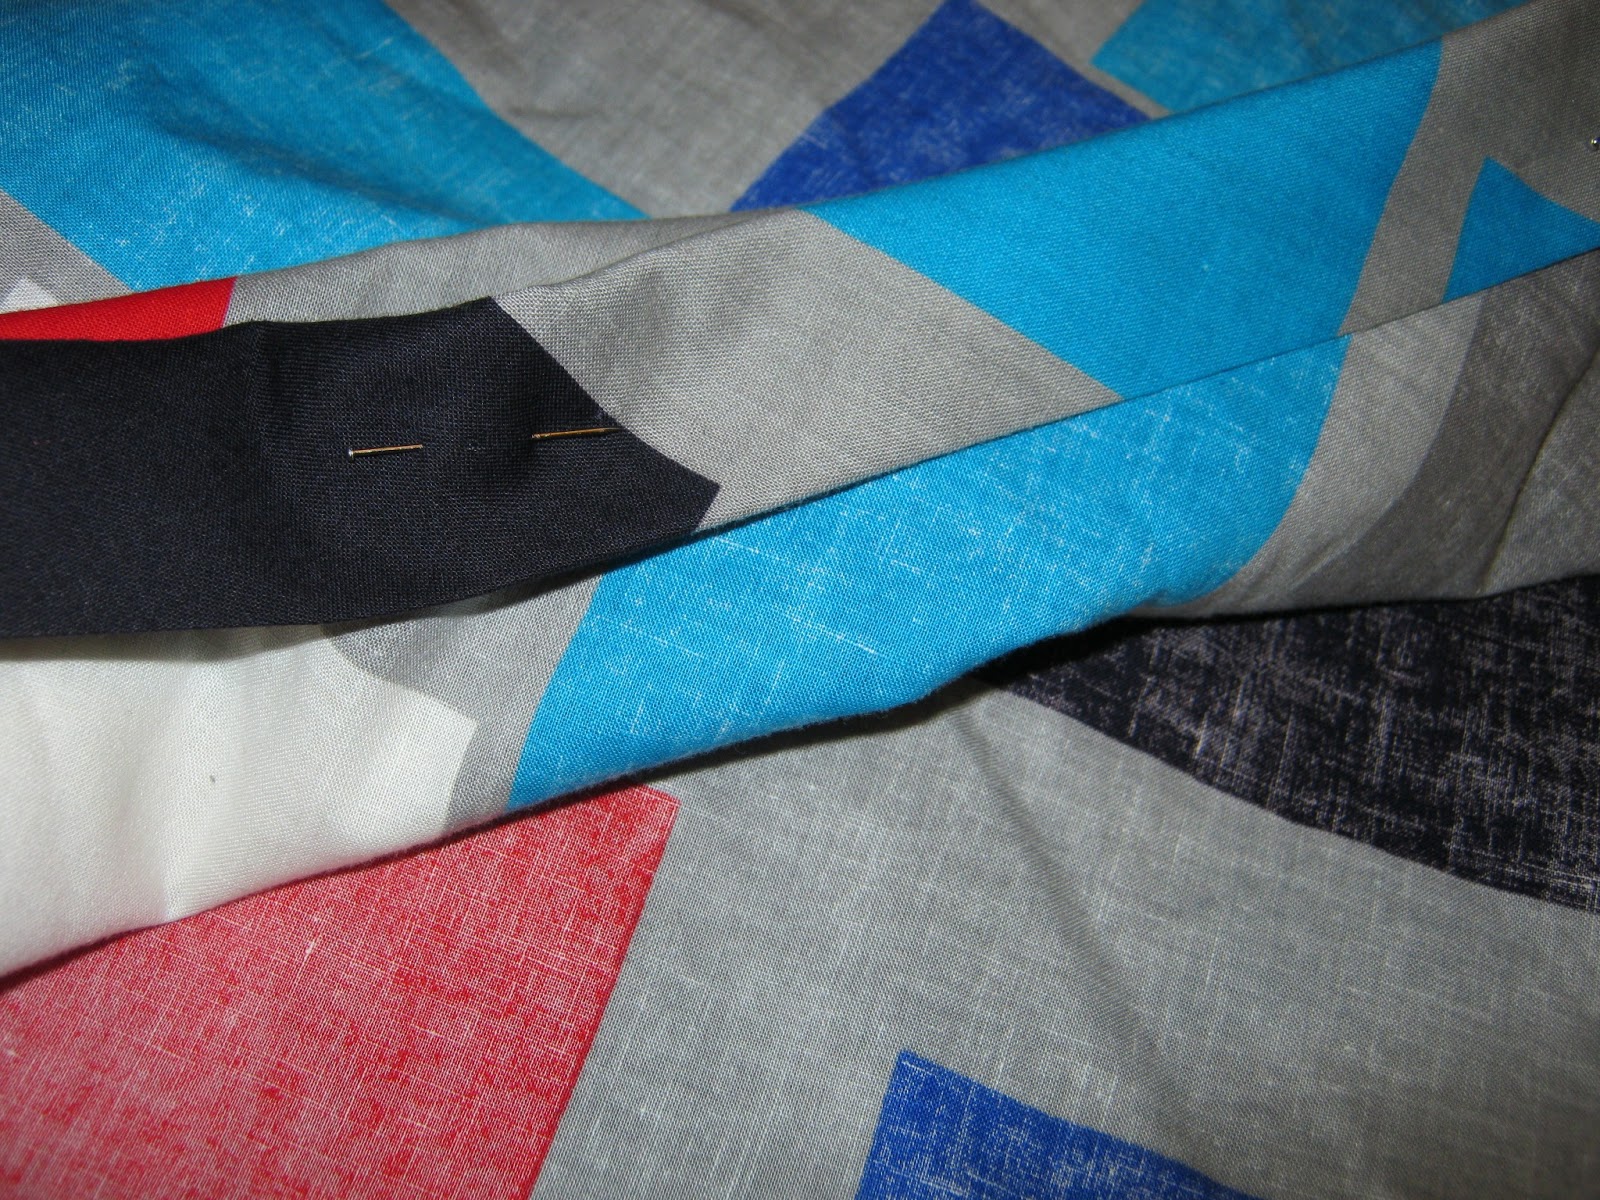
Once I had that part, I folded the hem over towards the inside twice and pinned it all the way around.  Much easier with this type of skirt!  Next, you'll need to press that seam, and if you're me, that means getting a little inventive.


Don't judge me.  I don't even own an iron, guys.  I pressed the hem all the way around with my straightening iron and it worked like a charm!


See?


I threaded a needle with a navy thread, then began sewing the bottom of the tube up.


My stitches are ugly, yes, but with the print and the gathering after draw-stringing you can't even tell.


Once I had it stitched all the way around, I cut small holes about an inch and a half apart on the side, then stitched all the way around them with a blanket stitch (WOO, TECHNICAL TERMS!...I just hope it is the right one) so it would hold nicely, then I ran the drawstring back through with a safety pin.  I wanted the drawstring to sit inside the skirt, which is why I put them inside and on the side.  The way the skirt flares out when you put it on, you can't even see the strings underneath.

I'd have posted an "after" picture, but to be honest, I guess I did a pretty good job because I couldn't even tell them apart once I got them uploaded!!

Helpful at all?

<3
WW

Wednesday, July 17, 2013

DIY Boot Harnesses

Ok, so does anyone else who uses blogger have odd things showing up in your Labels that you didn't put there?  Because I do.  It is driving me crazy.

Anyway, on with the song and dance, no?

I've been seeing a gazillion variations of boot harnesses online, but most of them I've seen are primarily leather and I wanted chain ones!


Enter $1 flea market cheap layered necklace...


...and Ye Olde Engineer Boots.  They're kinda my favorite.  I kinda wear them a lot.  In case you couldn't tell.  You'll also need 4 clasps and some jump rings.

First step is remove the chains from the bar doodle-bobbers at the end that attach to the clasp.  To do this, just grab the jump rings on either side with 2 sets of needle-nose pliers and twist.  If you're nuts like me and save EVERYHTING to reuse, then stash them somewhere that you probably won't be able to remember when you go to look for them.


Next, take one length of chain, attach a jump ring to one end (I used a large one since there will be 2 clasps hanging onto it), then wrap it around the boot.  I found it easier to attach the other jump and the clasp while it was around the boot, then unhook it and take off the extra length of chain like this:


That's the clasp for the next part sitting down there, not the one in the upper picture.  You can see on the left edge of the pic where the ankle chain is still around the boot.  :)


Next, take another length of chain and go from the middle of the first chain (attach with a jump ring) on the outside of the boot, under the back of the arch (just in front of the heel)....


Then, bring it around, hang a clasp on the large ring, then attach the chain and trim it like you did with the first one.


That's it!  I took mine apart and re-did them to add the big rings in the middle.  All I did was take out three links on the ankle part where the bottom chain attached in the middle and substitute a key ring, then attached the bottom chain back.  I had to trim a few links from the bottom chain, too, but I love it, the end result was totally worth it!


I LOVE LOVE LOVE these, and the best part is that since they unclasp, I can easily wear them with any of my other boots or even my heels.

What do you think?  Let me know if you try it!!

<3 WW

Wednesday, June 26, 2013

How to Re-size a Circle Skirt

First off, I'm sure there are a million and one ways to do this better than I did it.  I am NOT a seamstress, as will be immediately obvious in case you didn't already know from previous posts.  What little I know is self-taught or from watching other people.  I currently only sew by hand, though I do hope to have a machine in the future!

Either way, I had success with this and it is holding together quite well, so I figured it may be useful.  If I can do this with my very limited sewing skills, then anyone can!  This is a great way to be able to snag those skirts you see that are just a size or two too small as long as you can stand to sacrifice a few inches in the length.


First, you'll need a circle skirt or any other type that flares out immediately from the waist, that flares out wide enough to accommodate you around the widest part of your hips, sine we're using elastic and you want it to go over.  I found this one at a thrift store for a dollar and knew I just had to have it, but it was just baaarely too small.  This must have been made for one tall chick.  I have a 37" inseam and this baby struck me almost at the ankles.  I wanted it mid-calf, so I could definitely sacrifice a bit of length to make it fit!  I love this skirt because usually when you see poodle skirts they are that heavy, godawful, scratch, felt crap.  This is cotton and the applique is some sort of cute, wool-type stuff.
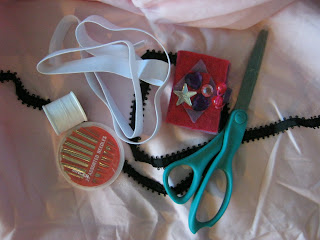

What you'll need to get started are a sewing needle, pins, thread, scissors, and some elastic, cut to fit your waist or hips or wherever you want the skirt to hang from.  To do this, just wrap it around the chosen area at the tightness you feel comfortable with, then cut it to that size, plus maybe 1/2 inch to allow for the fabric gathered around it.


The next step is to cut off the portion of the skirt that is too small.  You may have to hold it up to yourself and stretch at it to see the actual fabric size if it gathers under the elastic like mine does.  If you're not sure, then cut off just the elastic band, then keep trying it on until it goes over your hips with an inch or two to spare to allow for the folding around the elastic and stretching and such.

I eyeballed it and cut about 2 inches below the elastic and mine came out way too big and my first reaction was "oh shit" because I figured I'd fucked the whole project off.  I decided to keep going with it and I'm glad I did. Since the elastic fit and the skirt part was so big, it is all gather-y and swishy.  Keep in mind, also, the more you have to squish the fabric up onto the elastic, the more ruffly and wavy your skirt will be.


Once you've cut that all off, flip it inside-out and thread your needle.  I used white because I didn't have light pink and the way I stitched it, you can't see the stitches from the outside anyway.


Then, take your elastic, put it in a circle, and stitch it together.  I wasn't sure how to do this, so I just stitched it until I was sure it would hold, then I stitched it some more.  When I was happy it was sufficiently reinforced, I stitched it yet more for good measure.  I'm sure there is a much easier way to do this, but this is how I did it.  It worked fine and took me about an hour for the whole skirt, breaks not included.


Next, I rolled the fabric around the elastic twice, then began stitching the roll closed on the inside, being careful not to pierce through the elastic.  I do not own an iron, so the pins turned out to be useless.  I tried pinning it anyway, but due to the way a circle skirt is...well...a circle, I couldn't get everything to gather right with no iron, (not that I'd know how to do it WITH an iron), so I just decided to do the whole fold-hold-sew method and luckily it worked out beautifully.  If it isn't even at the bottom, you can't tell, so for a dollar skirt and a dollar for the elastic...I'm happy.


I kept at it, trying to keep my stitches very tiny on the outside and showing most of my shoddy craftsmanship on the inside, as you can see here.  :)

This, by the way, is what usually happens when I try to sew or do any large craft project that involves the floor, the sofa, and either fabric or paper:


Nope.  not moving.


Nope.


Still nope.

Every time I'd try to move the fabric to get to another part, she'd put her ears back in irritation and refuse to move, so I'd end up dragging her with it and if she started to slide off the fabric, she would scoot back onto it to make sure she continued to annoy me.  Anyway, continue stitching all the way around.  As you get farther down, you'll have to squish the fabric up and move it up the elastic .  I found it was easier to keep all the fabric squished up as much as possible and just move it around the elastic evenly at the end when I got ready to stitch up the last part.


After sewing for what felt like forever, I reached the ribbon.  It was held on by just a few stitches and some sort of long-dried-up fabric glue, so I just re-stitched it where it was coming up.  On the top where I ran the elastic, I just pulled the end I'd snipped back a little, clipped the stitch you see above to give me room, then did the fold-and-roll continue thing and once I was done, I just looped that little end over the roll, stitched it down on the inside, and didn't even have any excess!


Done!  It now hits mid-calf, which is exactly where I want it, only now it fits!


You can't even see my stitches from the outside, I'm pretty happy with it!


Close-up of the poodle because I love it...

<3

WW