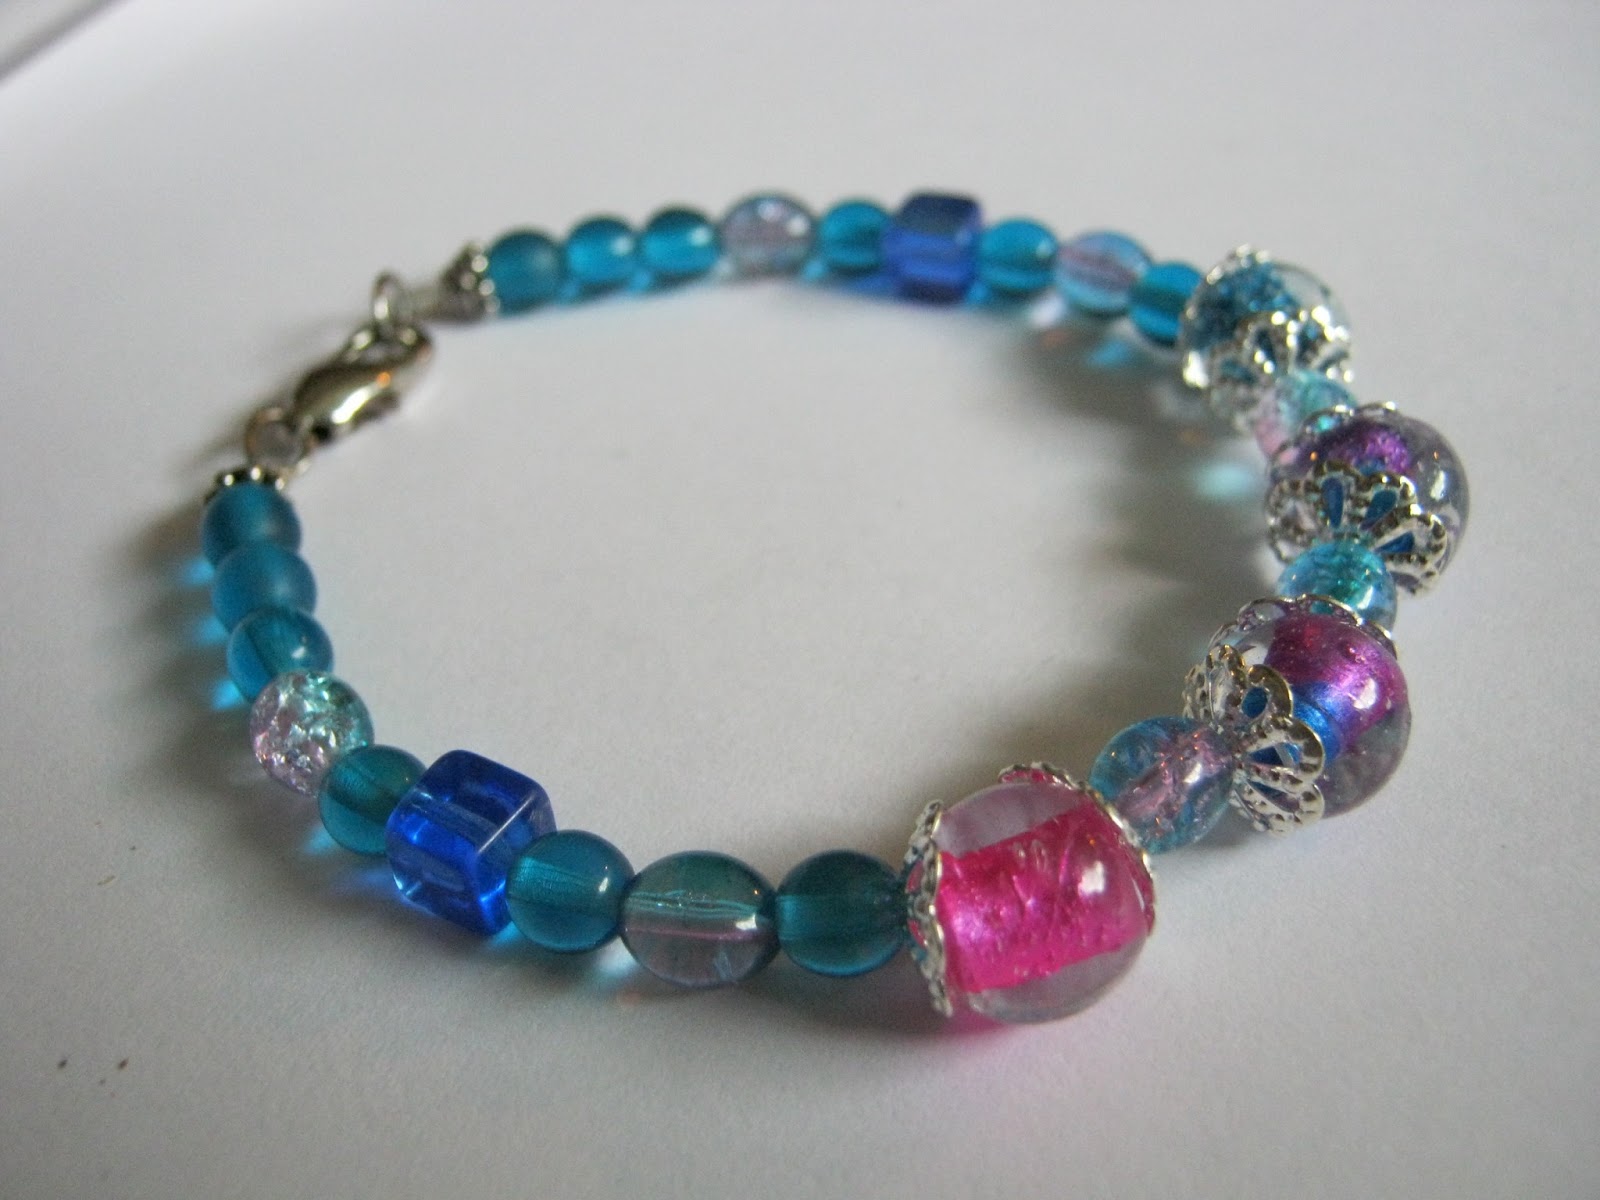
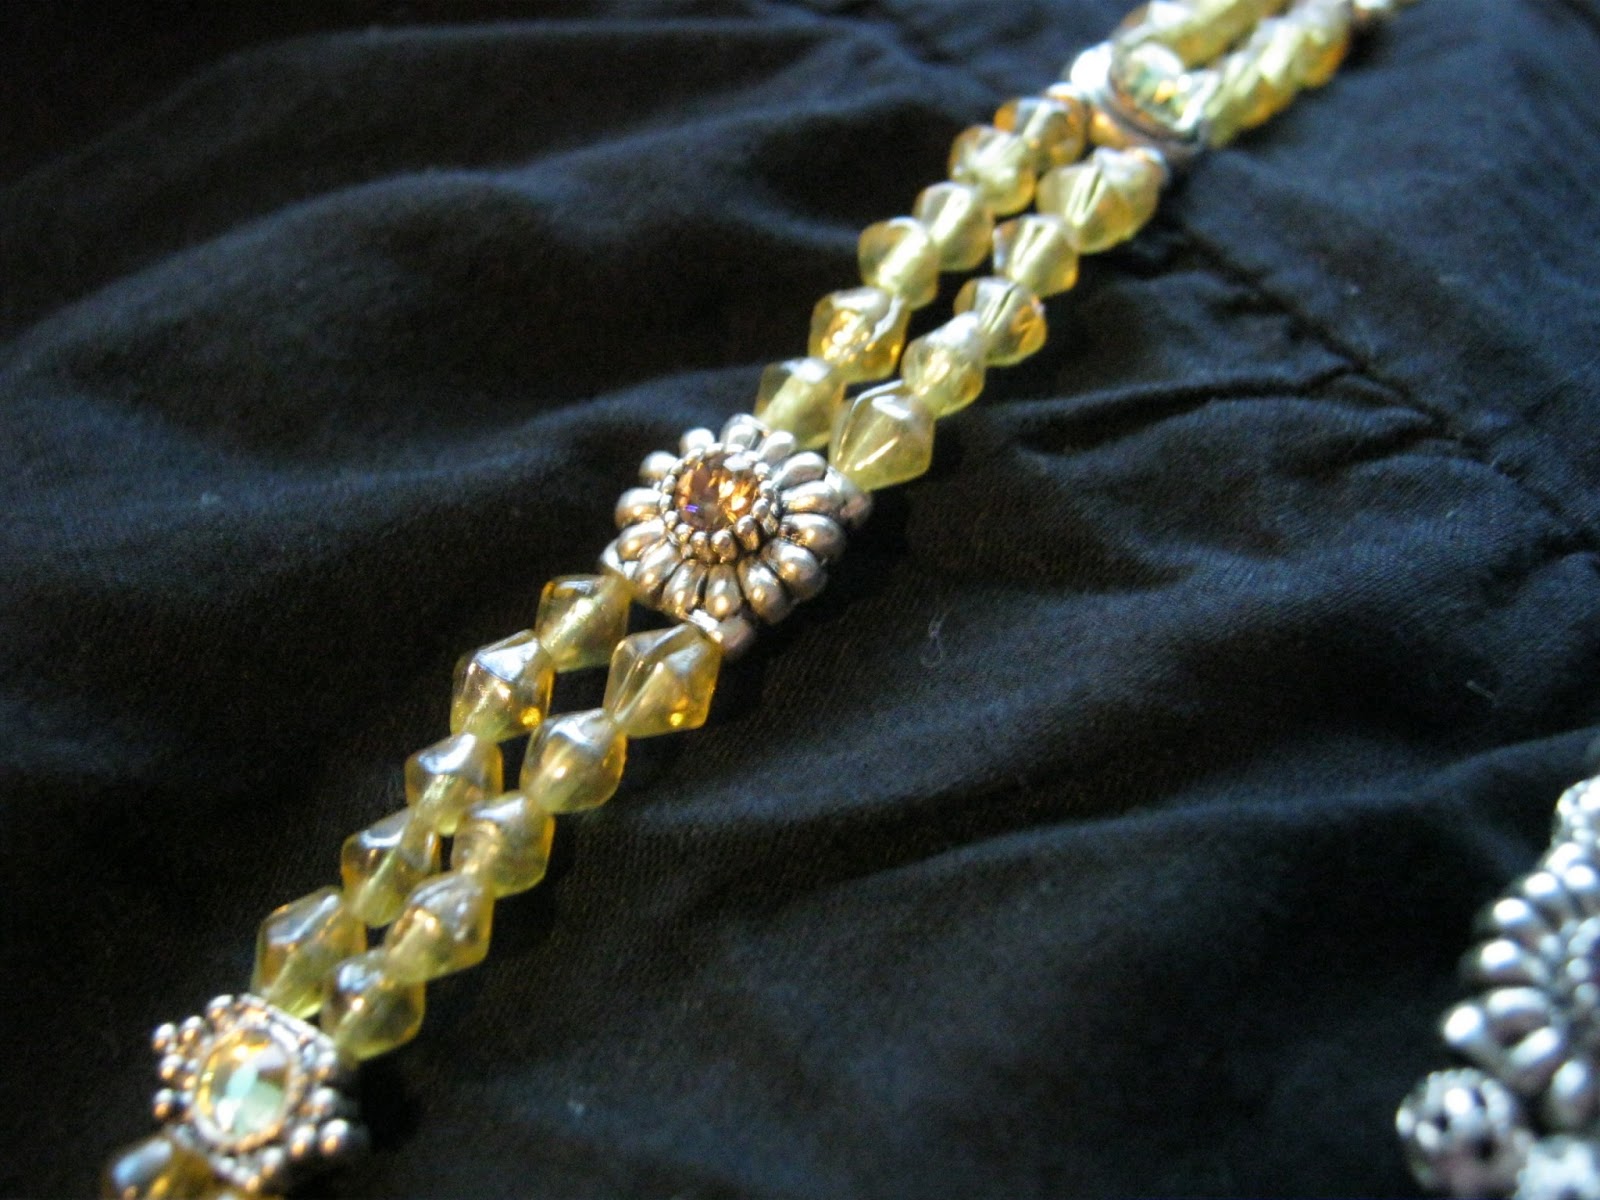
First, figure out what beads you want to use and put them aside. A good way to do this, is mark out with a string or on a piece of paper how long you want your bracelet to be, then start lining up beads in a pattern and just play around until you have a look you're happy with. These particular little silver beads have two holes in them, so keep in mind if yours are like that you will need smaller beads on either side to taper it down some or you will see the string if you try to go straight into one strand.

Once you've chosen your beads, it is time to attach the strings. You can use jewelry wire if you have it handy. I didn't, so I'm using a very high-test-grade fishing line. What you want to do is run the fishing line through a crimp bead and the little jump on the bottom of the catch. If you're smart, you will do both strands at once, but I forgot what I was doing and ended up doing one at a time.

Next, run the string back through the crimp bead so that it forms a loop holding the catch.

Hold the fishing line strands, move the crimp bead up to the jump ring on the catch, and pinch it together with the pliers.

Now, you should have the strands attached to the clasp via the pinched-closed crimp bead.

Next, it is time to start beading! This one I did two strands all the way down to the end, but you can taper them off like I did a few in the bead haul post.

Keep going until you have the bracelet the length you wanted it....

Once you reach the end, it is very close to the same thing you did the first time. Run the threads through a bead, then through jump rings. I used two jump rings for the closure on this one just because I thought it looked better with the chunkier bracelet.

Run the string back through the crimp bead, then, holding the rings, pull the threads tight until the beads all sit nicely and close together enough that there are no visible threads in the body of the bracelet.

Crimp it shut just like normal! You'll see I forgot to put them both through jump rings, AGAIN! Damn you, Netflix, and your infernal distracting!

Anyway, trim the ends and you're done! It is that easy.

I cranked out about 12 of these puppies in 3 or 4 hours watching Netflix, so they go pretty quickly. It takes me longer to figure out what I want them to look like than it does to actually make them.

A close-up so you can see the pretty iridescence on all the beads and gems.
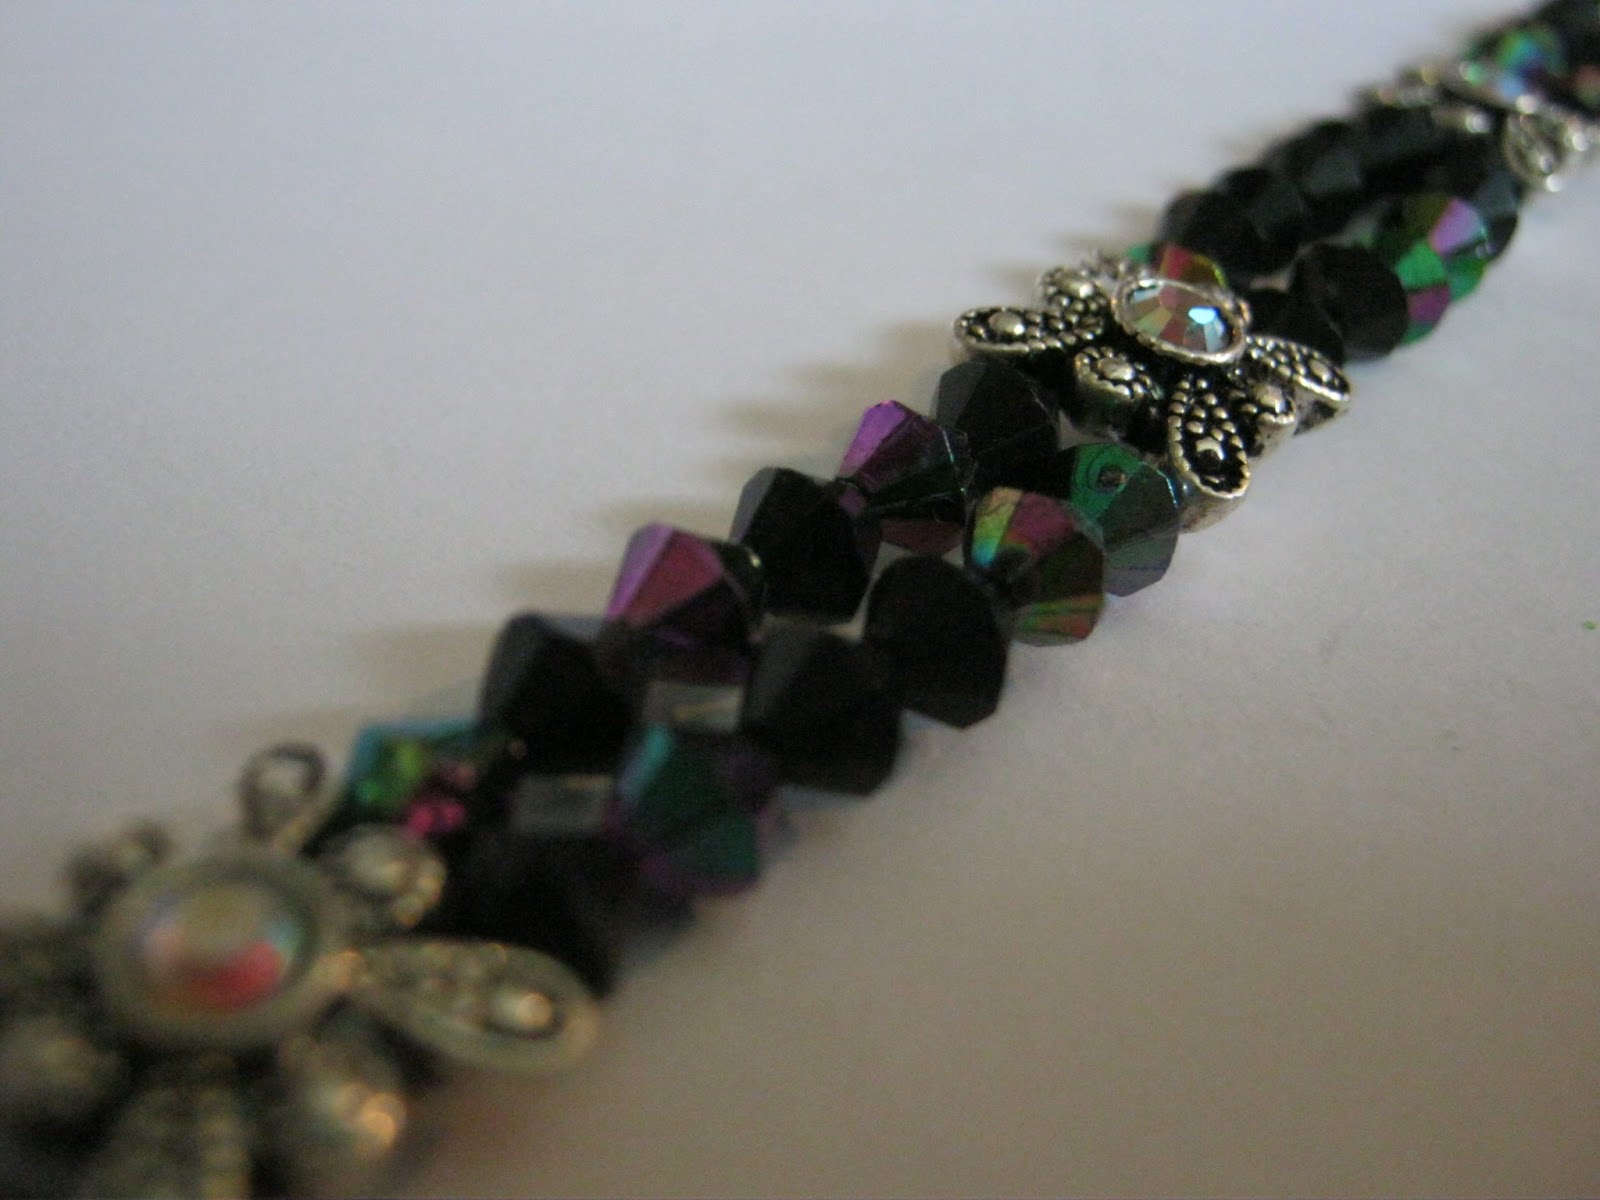
...ooooo, more sparkle porn!
If you make anything, I'd love to see it! :)
<3
WookieWifey