Cute crafts, nerdy crafts, frilly crafts, girly crafts, guy-friendly crafts, ALL THE CRAFTS!
Showing posts with label jewelry. Show all posts

Thursday, August 14, 2014

DIY Cardigan Clips

This is a super quick and easy way to re-purpose those adorable clip-on earrings you see everywhere at thrift stores...because who the hell wears clip on earrings anymore??

I realize it is still hot as Hades in my corner of the planet, but I'm posting this anyway since some of my readers are in Australia and I think its already cold there.  Yeah.  That's what we're gonna go with.

Actually, the truth is that I only ever seem to get struck with inspiration for winter crafts in the heat of the summer and vice verse.


Seriously, tho, this is stupidly easy.  String your beads or pearls.  I just used a broken bracelet because it was the exact length I wanted.  Make sure that if you are stringing them, to tie or crimp bead the ends around a jump ring so you can use it to attach them to the earrings.


Find a good place in the back of the earring you can wrap the jump ring around, then twist it closed.


That's it!  These are super cute and give you an excuse to buy the earrings you see out and about, but can't wear.  That, and they're great for actual function when you live somewhere super windy that threatens to remove a cardigan if you don't button it up.

<3WW

Thursday, July 31, 2014

Salvaging Broken Jewelry

Sometimes you just end up with a crapton of broken jewelry.

Or maybe that's just me.

Whether you buy it for crafty purposes, someone gives it to you, or you just stockpile things you have that break, it can accumulate!  While I'm certainly not a hoarder in most areas of my life, my craft stockpile can sometimes beg to differ.  I find myself having to clean out and re-organize all of it every 2 months or so just to sort of ferret through and ask "am I *really* going to do this project?" or "is this something I have the time and energy to finish?" so that it doesn't take over...well...everything.

At any rate, in case you are the type of person who also ends up with a lot of broken jewelry or weird odds and ends, then this post is for you!  Maybe you'll have the same pieces here or maybe you'll be able to use this for some sort of inspiration!  :)


Now, I don't have any 'before' photos, but this metal cabochon thing had had the jump ring, bail, or whatever had belonged to it broken off, the stone was loose and had a silver paint on the back, and it was bizarrely wrapped in some sort of odd, iridescent fabric that was all bunched up underneath.  That had to go.

I pried up the prongs, ripped off the fabric and carefully used a razor blade to scrape the silver paint off of the back.  Not all of it, though, and you'll see why.

I wanted to put a photo under the stone before putting it back in, but without all the bunched-up fabric under it, it just didn't sit right, so I used some Loctite to glue some flat beads in there.


Once I had the proper level, I was able to trim the photo I wanted to use around the "stone" and set it into the little bevel...wait...is that even the right damn word?

Anyway...


I put the "stone" back on top, then closed the prongs....You can sort of see here how the silver I left gave it that 'damaged old mirror' look.  It looks better in person...


Now, the aforementioned bail.  It didn't really have one, I just did't know what the proper term for they-glued-it-directly-to-the-chain was.  Still don't.  Either way, I took a small, flat, ugly charm I had lying in my jewelry supplies and used the Loctite to affix it to the back of the whole ordeal.


And now we have a really cool, sort of goth pendant that needs a matching chain!


For that, I used a plain chain and then added some drapes to it using a different style of chain to break up the monotony.


Then, I attached the little dangling parts which are actually those little metal things you're supposed to put around round beads.

I am so full of terminology today I shock myself.


Awful fucking terminology or not, I'm very pleased with how this turned out!  It took me about 20 minutes (not including the glue-drying time, of course) to take this pile of trash and make something pretty and unique!  Score one for repurposing!

<3 WW

Monday, July 21, 2014

Random Photo Post!

Since I've done quite a few projects since I've been gone that I was entirely too lazy to do tutorials for, I figured I'd share a few pictures of some of them so you guys can feel a bit more caught up.  While there are tons of tutorials on the way, I'm about half-way through my cup of coffee, so I figured that photos would do quite nicely today!


Barefoot sandals!  I've made a few pair of these lately, and I hope to start selling them soon.  If only I can remember to pick up the rest of the materials when I'm out...


My mixer.  I hand-painted the strawberries and stripes, then sealed it all.


A necklace I made for a friend...


...and another...


...and yet another.


This little bat I made for the Wookie and I want to make several more.


I sewed pipe cleaners into his wings and into his little toes so that his wings articulate and he can hang from things.

What have you been crafting?

<3
Wookie Wifey

Tuesday, July 8, 2014

Quickie Cameo

I guess we'll kick back off with a super quick craft.  This one is proof that sometimes the smallest adjustments can make a BIG difference.


I had this awesome Artemis cameo a friend sent me.  I just used a jump ring to attach it to this odd-looking...thing...what is that big round thing, anyway?  Anyone know?  Anyway, I stuck them together and got this:


Then, I just added another jump ring to the top of the big circle piece so there'd be somewhere to string it onto a chain.  Yep, that's it!


Less than 5 minutes turned a tiny cameo into a really interesting statement piece!

<3WW

Listening to: 'Duncan Hills Coffee Jingle' - Dethklok

Sunday, October 13, 2013

Charm Bracelets - Two Easy Ways

Charm bracelets have been around for quite a while.  I see them quite often in stores, already fully charm-ed out, but sometimes you want something that's a bit more personal for yourself or for a gift, right?  Well, here's two versions of how to make your own.


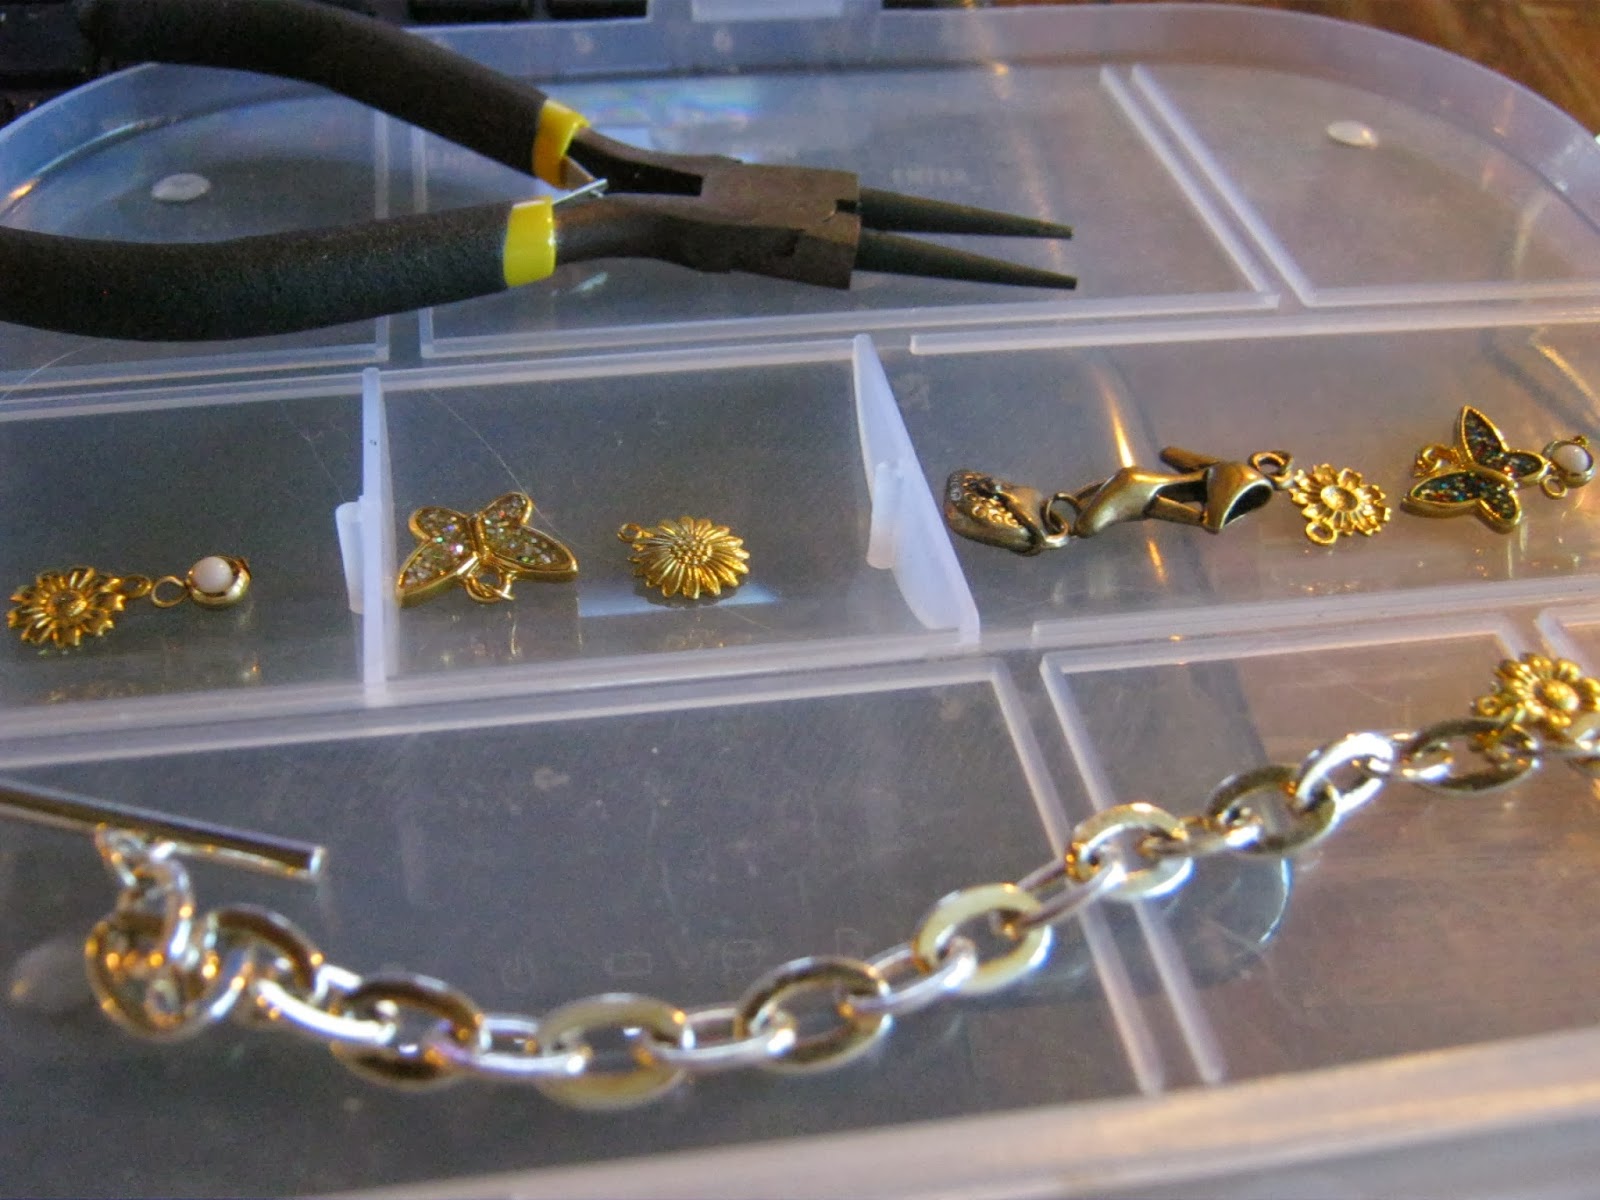
For the first version, you'll need a bracelet with decent-sized links, the charms of your choice, and jump rings.


I didn't have enough jump rings of a same size, so I took these off of this necklace which I was re-doing anyawy.


Next, take your needle-nose pliers, (I use two sets), twist the jump ring open, loop it through a link in the chain, add the charm, then twist it closed.  Be sure to TWIST, not try to pull them open or you'll never get them to go back right and it will look pretty bad.

I find it helpful to count out how far apart I want the charms before I get started so I can be sure they will be evenly spaced and it will be as full as I want it to be when it is done.


...And there's version 1!


Easy!


For version 2, everything is the same except this time I made the bracelet itself from scratch as well.

I found some old chain I had lying around, trimmed it to the proper length.  Then, using jump rings, I attached the toggle clasp to the ends.


Here it is with just the toggle on.


Once I had the clasp done, I began adding charms just like before.


Keep going...


And done!

<3
WW

Monday, June 3, 2013

Basic 2-Strand Beaded Bracelet Tutorial

As promised, it is tutorial time!  I'm sure there are probably better ways to do things than I do them, but this is my method, so take what you can from it.  :)


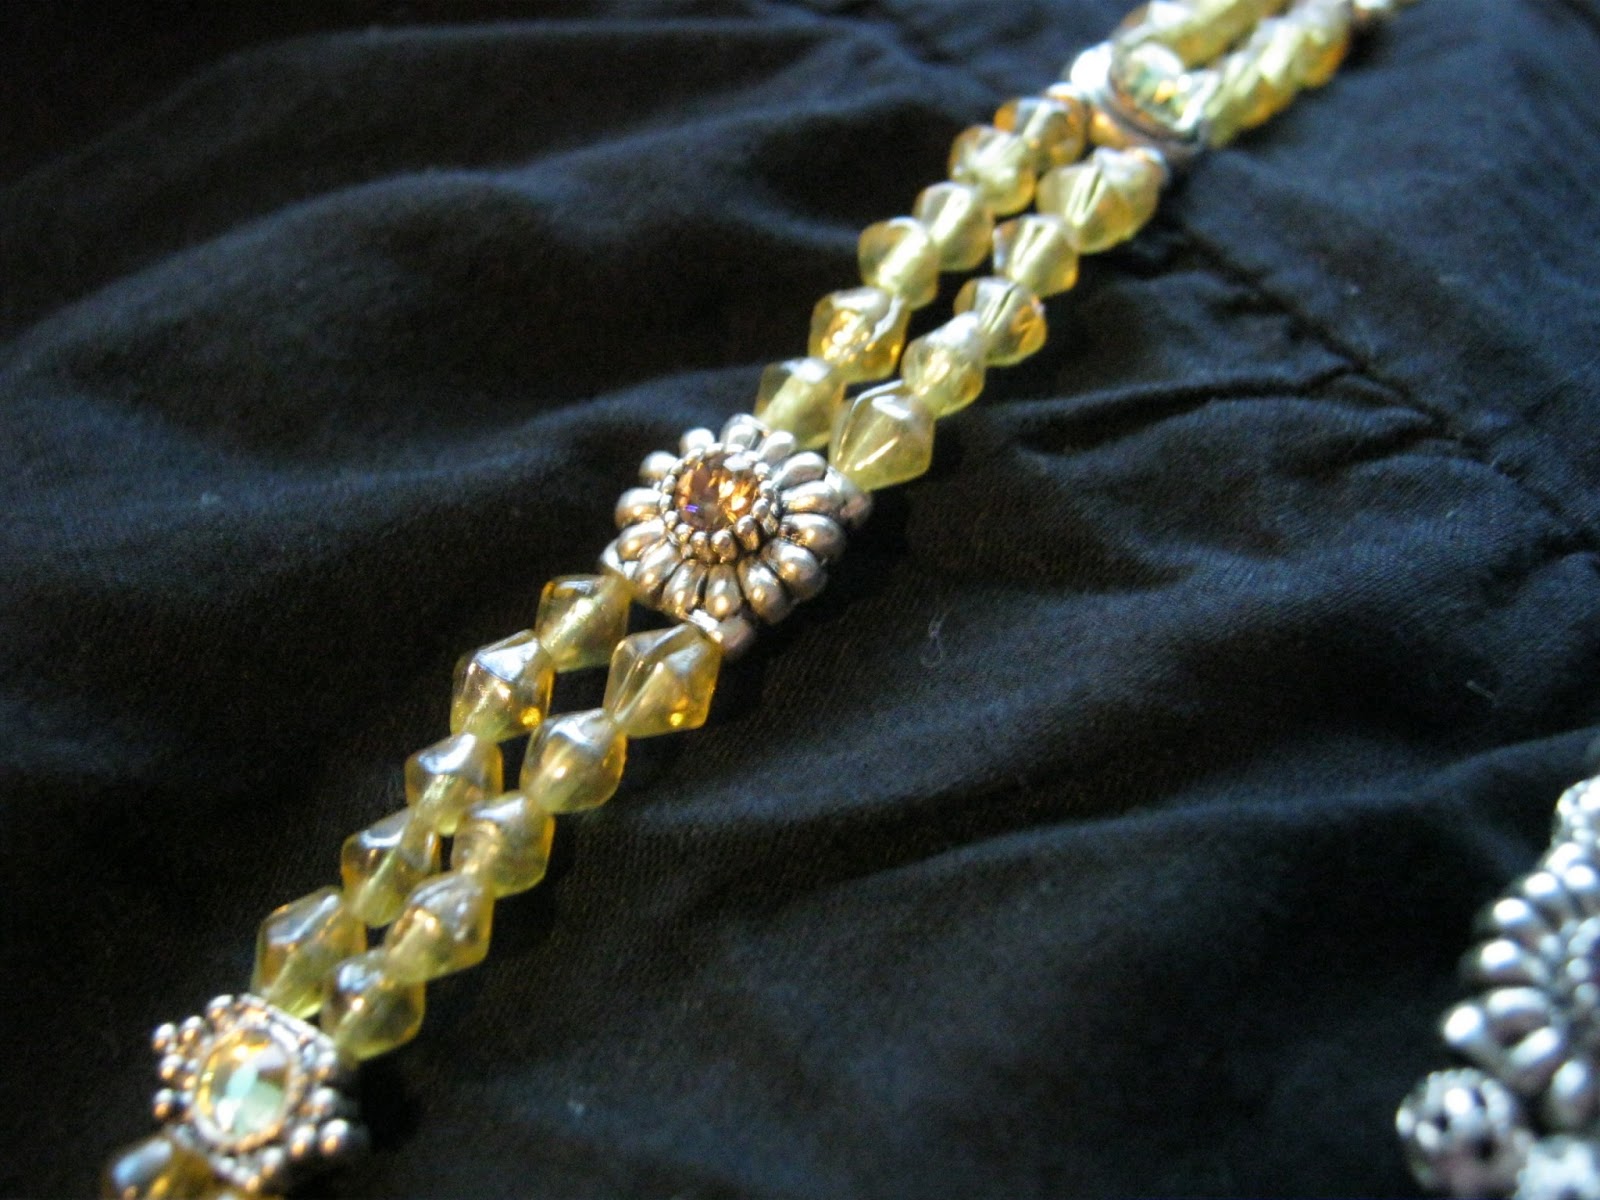
First, figure out what beads you want to use and put them aside.  A good way to do this, is mark out with a string or on a piece of paper how long you want your bracelet to be, then start lining up beads in a pattern and just play around until you have a look you're happy with.  These particular little silver beads have two holes in them, so keep in mind if yours are like that you will need smaller beads on either side to taper it down some or you will see the string if you try to go straight into one strand.


Once you've chosen your beads, it is time to attach the strings.  You can use jewelry wire if you have it handy.  I didn't, so I'm using a very high-test-grade fishing line.  What you want to do is run the fishing line through a crimp bead and the little jump on the bottom of the catch.  If you're smart, you will do both strands at once, but I forgot what I was doing and ended up doing one at a time.


Next, run the string back through the crimp bead so that it forms a loop holding the catch.


Hold the fishing line strands, move the crimp bead up to the jump ring on the catch, and pinch it together with the pliers.


Now, you should have the strands attached to the clasp via the pinched-closed crimp bead.


Next, it is time to start beading!  This one I did two strands all the way down to the end, but you can taper them off like I did a few in the bead haul post.


Keep going until you have the bracelet the length you wanted it....


Once you reach the end, it is very close to the same thing you did the first time.  Run the threads through a bead, then through jump rings.  I used two jump rings for the closure on this one just because I thought it looked better with the chunkier bracelet.


Run the string back through the crimp bead, then, holding the rings, pull the threads tight until the beads all sit nicely and close together enough that there are no visible threads in the body of the bracelet.


Crimp it shut just like normal!  You'll see I forgot to put them both through jump rings, AGAIN!  Damn you, Netflix, and your infernal distracting!


Anyway, trim the ends and you're done!  It is that easy.


I cranked out about 12 of these puppies in 3 or 4 hours watching Netflix, so they go pretty quickly.  It takes me longer to figure out what I want them to look like than it does to actually make them.


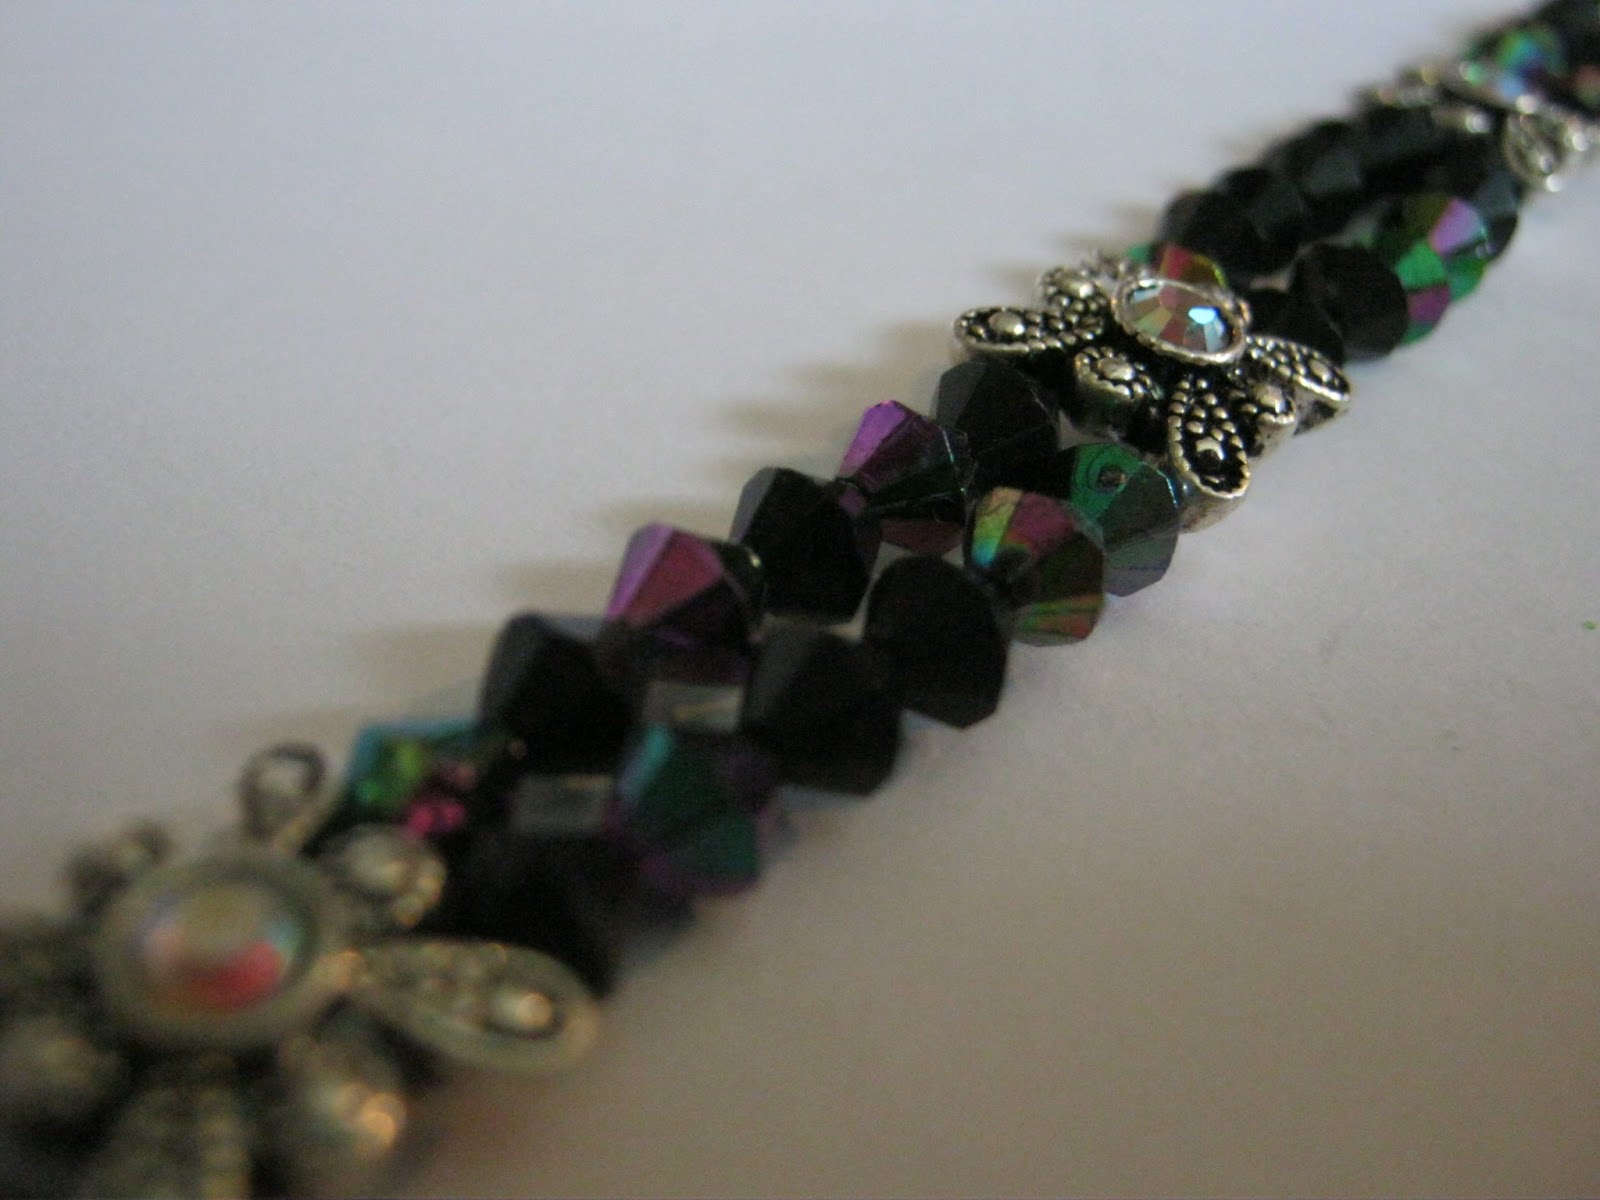
A close-up so you can see the pretty iridescence on all the beads and gems.


...ooooo, more sparkle porn!

If you make anything, I'd love to see it!  :)

<3
WookieWifey

Saturday, May 25, 2013

Massive Bead Haul (Pictures with tutorials coming soon!)

The other day, my sister-in-law showed up on my doorstep with this stash of loot courtesy of her and my niece:


Beading tools and *all those boxes are full* of beads and findings!

I dove right in, sorted it all out, and had a blast!  Here's a few of the things I've made so far, and there are tutorials coming soon for the 2-strand bracelets and a leather wrap bracelet inspired by Earth Jewel Creations, (although it came out nothing like hers, hers are way better, but it is still pretty cool).

A big thanks to my sister-in-law and niece for all the awesome goodies!  I was especially excited to see all of this as I've been seeing so much nice handmade jewelry online lately and it isn't something I've had the materials to really work on in many years, so it was nice to get back into it a bit.  Now, if I can just get my bead loom set back up and start doing tutorials for that I'll be doing good!

Enough babble, on to the sparklies!


A simple 2-strand choker.


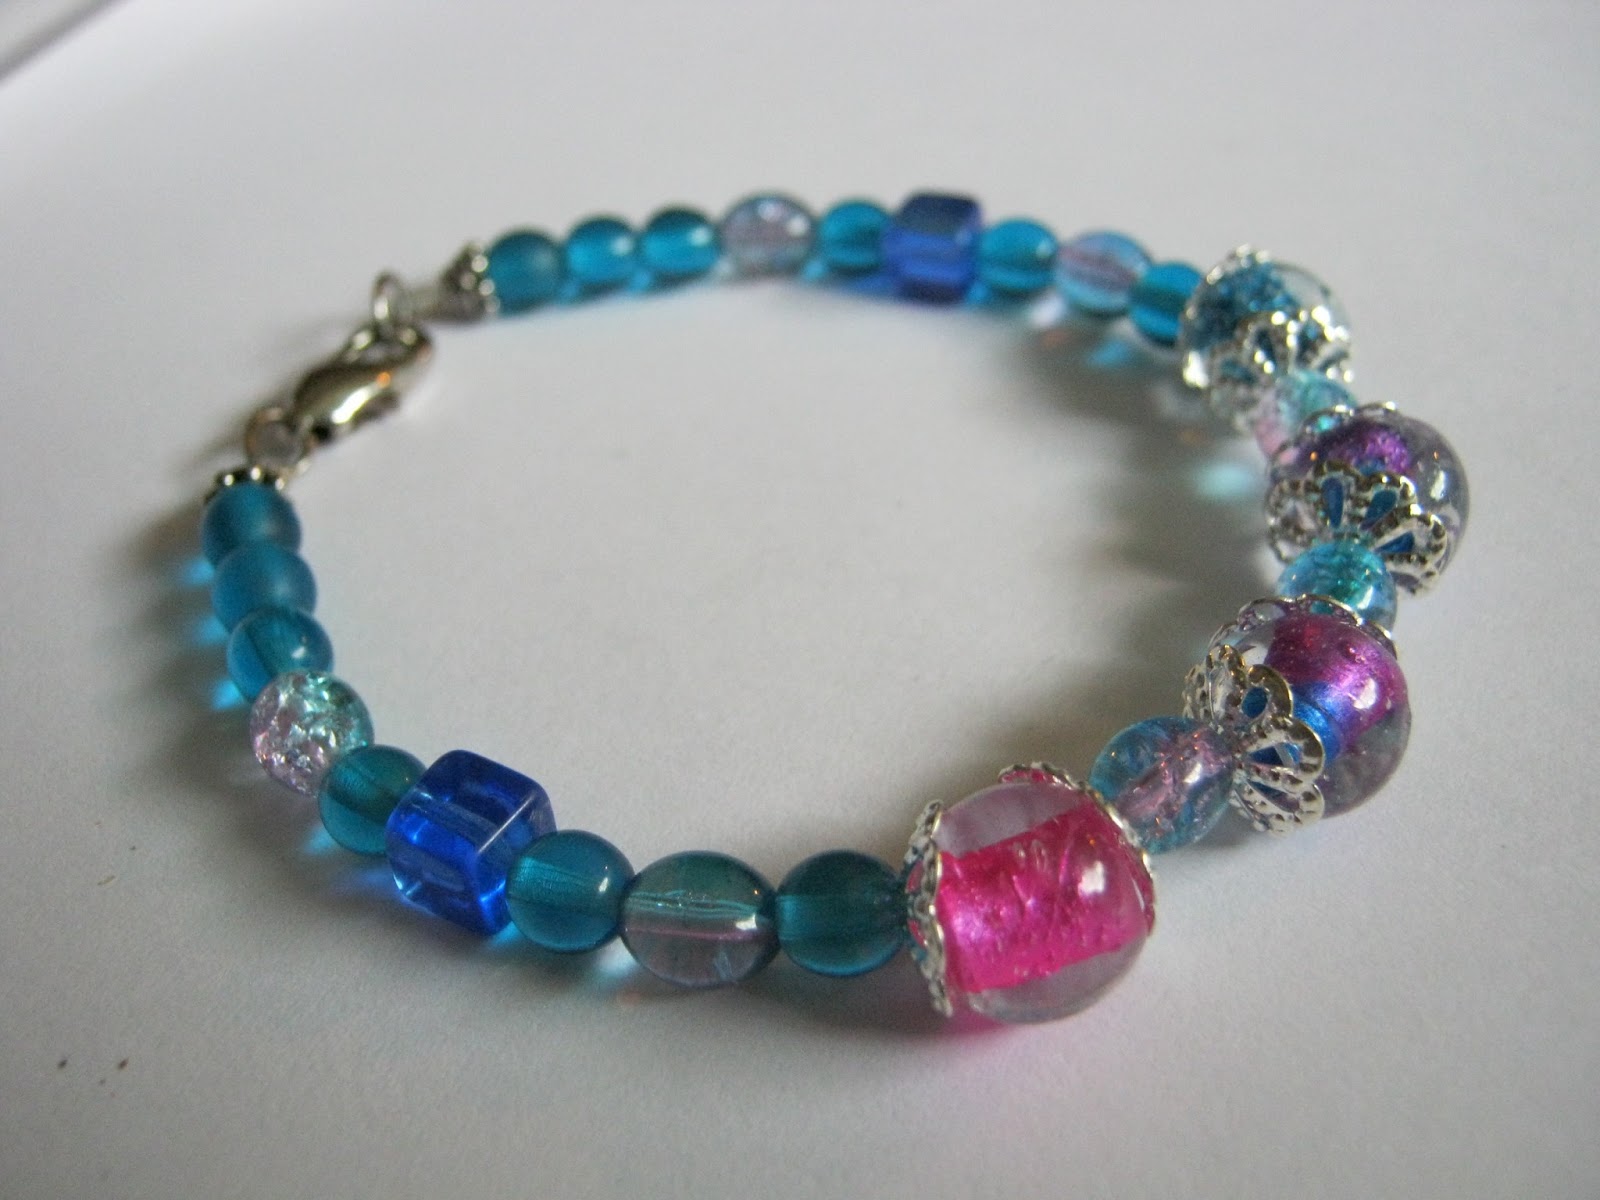
Cute little bright bracelet.


This huge hockin' thing looked amazing, but I had to take it apart.  It seriously weighed over a pound as most of those metal beads are hella heavy.  It got re-incarnated into a smaller project, but I couldn't resist taking a few pictures first.


I love these black bullet beads.


2 more bracelets.  I'm keeping the purple one, I can't bear to part with it.


A bracelet I made for my bestie.


This is a necklace, but none of the pictures of the whole thing showed up.  Also, cat hair.


Another bracelet.  This one is very small and dainty and is almost weightless when you put it on.


Another 2-strand choker.

I'm sure I'll be making more and posting many more pictures and maybe even tutorials for different patterns as I get brushed back up on all this, if anyone is interested!  :)

<3

Wookie Wifey