

I forgot to take before pictures before I took the cushions off, but this is what I started with: A very ugly, plain kitchen chair.
.JPG)
Here's the cushions: ugly, stained, torn on the corners and just disgusting looking.

For the decopauge, you'll need a pan or bowl to mix things in, some mod podge or wood glue (mod podge would probably work better, but the wood glue worked and seems to be holding up just fine so far), and scissors. Last, but not least, you'll need some old comic books. Being the nerd I am, I used ones that were already falling apart and missing pages that I found somewhere because it would hurt my heart to cut up nice ones and I'd hate myself forever. You may want to sand your piece of furniture first, but this chair was so old and rough that it just really didn't need it.

Cut out the comic squares and make a mix of 50/50 glue and water (or just use the Mod Podge however that stuff works...I've never been able to afford the stuff, so I don't know.)
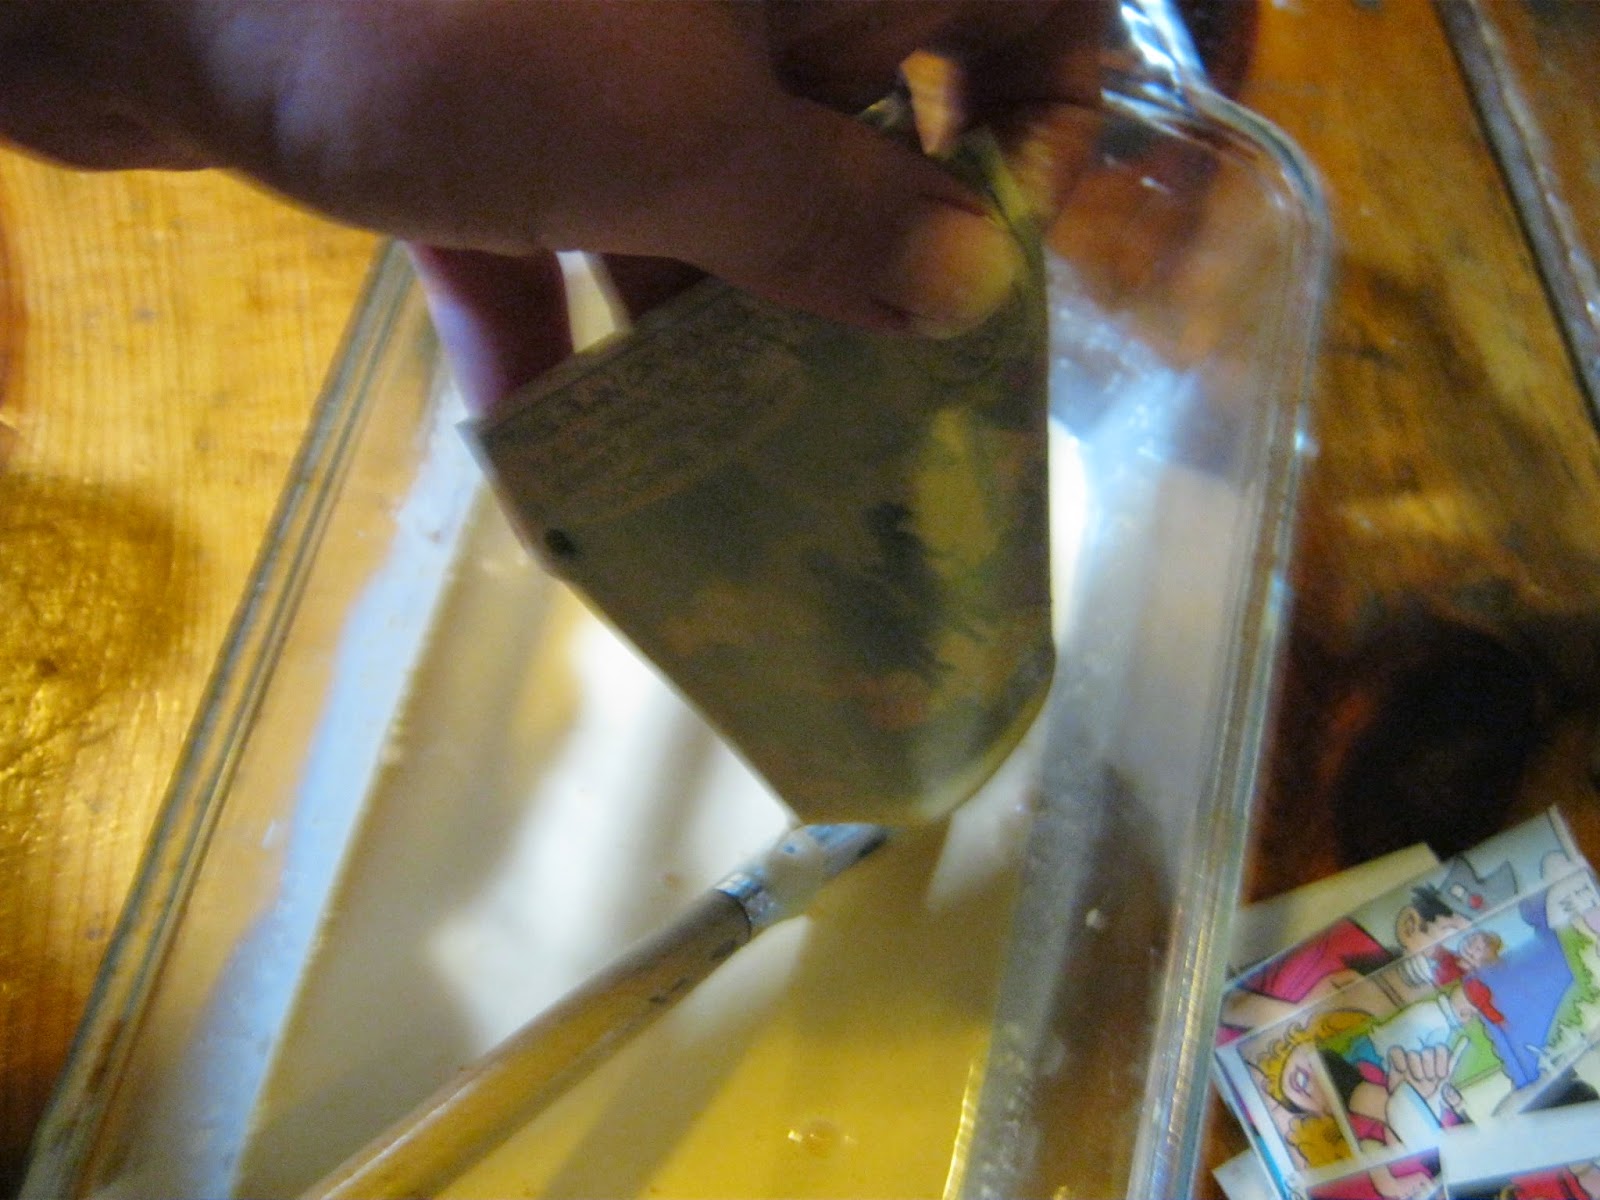
Then, dunk the pieces in there. I found it easier to put in 2 or 3 at a time and push them down into the mix with a paintbrush because you want them to get good and soaked, but not so much that they will shred and fall apart when you go to fish them out. Fish them out and gently wipe the extra glue off.

Since I wanted the panels to be visible, I just began pasting them on, trying to keep them relatively straight. Press them to the surface, then wipe the excess glue just a bit.

Keep going...Be sure to do this in an area that you don't mind getting messed up or put down plastic or something, because this shit drips fucking everywhere.

For the corners, I just sort of gently folded them package-style...

...then layered another piece over the fold to secure it.

Oh yeah...we're drying...at this point you'll be able to see how awesome your project is going to look and all this tedious work will start to look worth it!

Once the chair is COMPLETELY DRY, top coat it. I used the above and did about 3 coats. I'm sure there's a better product for this, but I was working with what I had and, since it clearly said 'wood' on the label, I figured this would be sufficient.

Now, while that's drying (and in between coats), its time to do the cushions! I tried to recall every single trick and thing I'd learned while working at a re-upholstery shop since, while working there, tearing down couches and upholstering chair cushions seemed to be all I was capable of. >.< This is pretty hard to describe since its sort of a hands-on thing, but I'll do the best I can.
I didn't have any cushion-y stuff to just re-pad, strip, and totally re-do these, so I just covered over. If you wanted to totally re-do them, it is the same other than that you'd strip off all of the old stuff and glue a big piece of squishy foam with quit batting wrapped around it to the front, for this kind of cushion.
Choose the fabric or vinyl you want to cover them in and lay the cushion on top of the side that won't be showing. Draw a line around it with a marker, fabric pen, chalk...whatever you have that won't show through. You want to pull the fabric up over it a bit before you mark so that you are sure to have enough to wrap around the depth due to the cushion and still have an inch or two around it, as well.

Next, it is time to start stapling. It is very important to do the middle of each side with one staple FIRST. Staple on one edge, then go to the direct opposite side and stretch it as tight as you can and staple in the middle across from your first one. Repeat for the other opposing sides.

After you've done the middles, it is time to do the corners. Bring up the pointy part of the corner and wrap it tightly around the middle of the curve. It is important that for every staple, you try to keep the tautness the same as the one before it. If you mess up some, it won't be as noticeable if you are using a plain fabric, but if it has any pattern at all in it, not having it equally as tight all around will make your shit look super crazy, and not in that good 'quirky crazy' kind of way.

Next, I went ahead and stapled and pulled tight along the edges up to a few inches from the corners on the first side, just so I'd know exactly how much slack I needed to work with, then, once I got to the corner, I pulled up that excess, folded and tucked a bit, then stapled it to the back. There is a way, not one I remember, but a way, to cut at it some to where it will lay more flat, but for chair cushions where the backs will be hidden with either more vinyl or the chair itself...it just really doesn't matter, IMO.

Repeat on other side.

This is what it looks like from the 'sittin' side'.

Repeat on all the other sides...

...Then staple any remaining fabric allll around the edges of the whole thing!

Don't forget to staple at close intervals so that it remains tight and all the staples share the load of the tension so it will last longer, and I also like to pop a few extra staples in the corner folds just for shits and giggles.

Now, the back of this chair is a frame and you can see the back side of the cushion - not always a problem, but here's how you tackle it if it is! Just cut another piece of vinyl the size of the cushion back, stretch it across and staple in the middle-opposite sides like the first one, keeping your staples as close to the edges as you can so that the frame of the chair will hide them. Tighten and staple all around. it should look like this:

Nice and taught and the staples will be hidden.

Here's the other side! At this point, you can be proud of yourself! Allow yourself a minute or two of gloating before you start on the next one!

Chair cushions are usually more trapezoidal-shaped than square or rectangular. That's okay!

As long as you follow the instructions for the first cushion, things should still go smoothly! Here, you can see how sometimes on the chair ones, it makes life easier to pull it tight on the edges, as well, before doing the corners.

Once your chair is dry and your cushions are covered, put it back together! I hope you remembered to leave holes where the screws go when you decopauged and re-covered! I didn't and had to bore most of them out with the screwdriver. >.< I always forget that part.

All done! An awesome, custom decopauged comic book chair! This baby's going in my craft room! Here's you a few more shots just to ogle its glory. (Also some kitty butt.)


Like it? Gonna try it?
<3 WW
Listening to: 'Airship Pirates' - Abney Park


