Cute crafts, nerdy crafts, frilly crafts, girly crafts, guy-friendly crafts, ALL THE CRAFTS!
Showing posts with label accessories. Show all posts

Thursday, August 14, 2014

DIY Cardigan Clips

This is a super quick and easy way to re-purpose those adorable clip-on earrings you see everywhere at thrift stores...because who the hell wears clip on earrings anymore??

I realize it is still hot as Hades in my corner of the planet, but I'm posting this anyway since some of my readers are in Australia and I think its already cold there.  Yeah.  That's what we're gonna go with.

Actually, the truth is that I only ever seem to get struck with inspiration for winter crafts in the heat of the summer and vice verse.


Seriously, tho, this is stupidly easy.  String your beads or pearls.  I just used a broken bracelet because it was the exact length I wanted.  Make sure that if you are stringing them, to tie or crimp bead the ends around a jump ring so you can use it to attach them to the earrings.


Find a good place in the back of the earring you can wrap the jump ring around, then twist it closed.


That's it!  These are super cute and give you an excuse to buy the earrings you see out and about, but can't wear.  That, and they're great for actual function when you live somewhere super windy that threatens to remove a cardigan if you don't button it up.

<3WW

Sunday, October 13, 2013

Charm Bracelets - Two Easy Ways

Charm bracelets have been around for quite a while.  I see them quite often in stores, already fully charm-ed out, but sometimes you want something that's a bit more personal for yourself or for a gift, right?  Well, here's two versions of how to make your own.


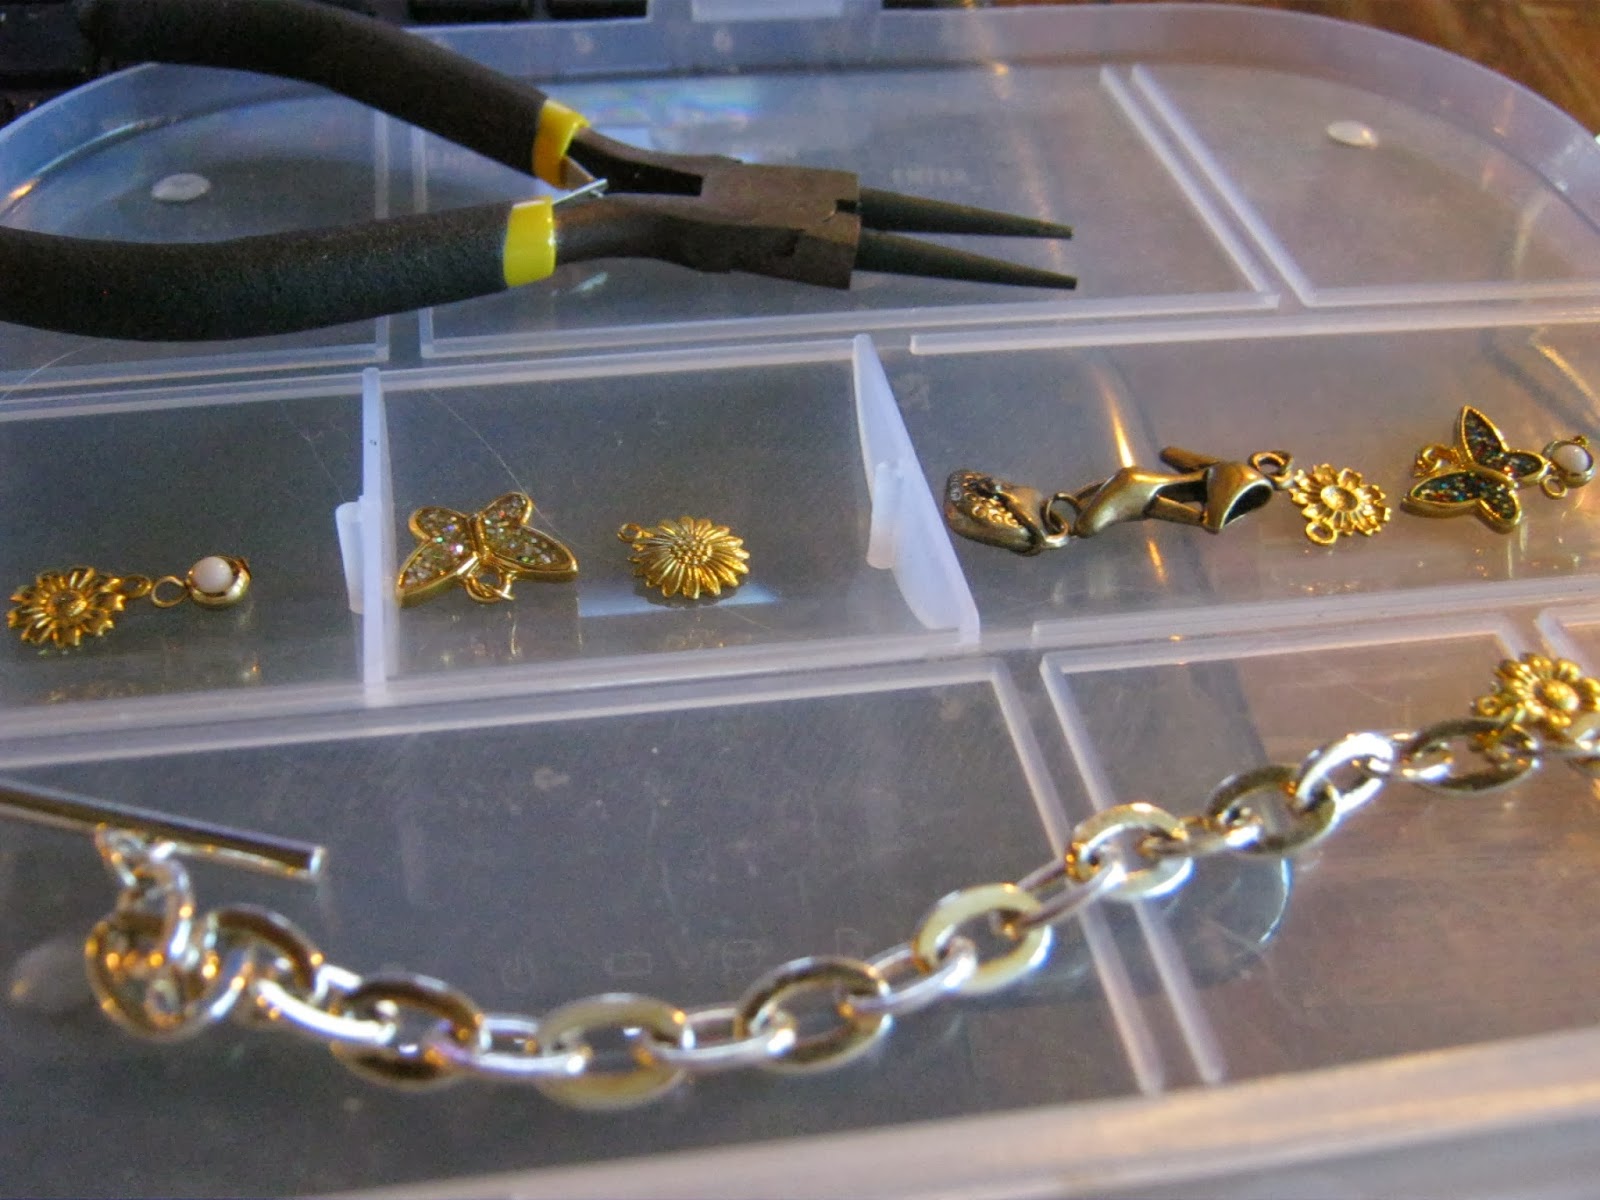
For the first version, you'll need a bracelet with decent-sized links, the charms of your choice, and jump rings.


I didn't have enough jump rings of a same size, so I took these off of this necklace which I was re-doing anyawy.


Next, take your needle-nose pliers, (I use two sets), twist the jump ring open, loop it through a link in the chain, add the charm, then twist it closed.  Be sure to TWIST, not try to pull them open or you'll never get them to go back right and it will look pretty bad.

I find it helpful to count out how far apart I want the charms before I get started so I can be sure they will be evenly spaced and it will be as full as I want it to be when it is done.


...And there's version 1!


Easy!


For version 2, everything is the same except this time I made the bracelet itself from scratch as well.

I found some old chain I had lying around, trimmed it to the proper length.  Then, using jump rings, I attached the toggle clasp to the ends.


Here it is with just the toggle on.


Once I had the clasp done, I began adding charms just like before.


Keep going...


And done!

<3
WW

Wednesday, July 17, 2013

DIY Boot Harnesses

Ok, so does anyone else who uses blogger have odd things showing up in your Labels that you didn't put there?  Because I do.  It is driving me crazy.

Anyway, on with the song and dance, no?

I've been seeing a gazillion variations of boot harnesses online, but most of them I've seen are primarily leather and I wanted chain ones!


Enter $1 flea market cheap layered necklace...


...and Ye Olde Engineer Boots.  They're kinda my favorite.  I kinda wear them a lot.  In case you couldn't tell.  You'll also need 4 clasps and some jump rings.

First step is remove the chains from the bar doodle-bobbers at the end that attach to the clasp.  To do this, just grab the jump rings on either side with 2 sets of needle-nose pliers and twist.  If you're nuts like me and save EVERYHTING to reuse, then stash them somewhere that you probably won't be able to remember when you go to look for them.


Next, take one length of chain, attach a jump ring to one end (I used a large one since there will be 2 clasps hanging onto it), then wrap it around the boot.  I found it easier to attach the other jump and the clasp while it was around the boot, then unhook it and take off the extra length of chain like this:


That's the clasp for the next part sitting down there, not the one in the upper picture.  You can see on the left edge of the pic where the ankle chain is still around the boot.  :)


Next, take another length of chain and go from the middle of the first chain (attach with a jump ring) on the outside of the boot, under the back of the arch (just in front of the heel)....


Then, bring it around, hang a clasp on the large ring, then attach the chain and trim it like you did with the first one.


That's it!  I took mine apart and re-did them to add the big rings in the middle.  All I did was take out three links on the ankle part where the bottom chain attached in the middle and substitute a key ring, then attached the bottom chain back.  I had to trim a few links from the bottom chain, too, but I love it, the end result was totally worth it!


I LOVE LOVE LOVE these, and the best part is that since they unclasp, I can easily wear them with any of my other boots or even my heels.

What do you think?  Let me know if you try it!!

<3 WW