

The Wookie was stoked because he wanted the denim rope before I'd turned it into a rug, so it was still a good thing. It came out the way it was supposed to, but I just didn't care for it once I was seeing it in person, so I figured I'd go ahead and post it because, chances are, someone out there will like it! If that's you, then here's how ya make one:

First, you need old jeans. It took about 4 pair to make this rug, if I remember correctly. Keep in mind most of them were mine and I have crazy long legs and have to buy a 37" inseam, so you may need to adjust!
After that, you need to cut the legs of the jeans into strips length-wise that are about an inch to an inch and a half thick, but I neglected to take pictures of that.


Then, it is keep braiding and stitching....

....and braiding and stitching...


Now that you have a massive braided denim rope, it is time to turn it into a rug. Lay the end flat on a surface and loop it over a few inches as shown. This will be your starting point. I wanted (well, thought I wanted) a round rug, so I made mine small, but if you want an oval one, just make your starting point longer.
Flip it over and begin stitching it together. It doesn't have to be pretty as this will be the bottom.

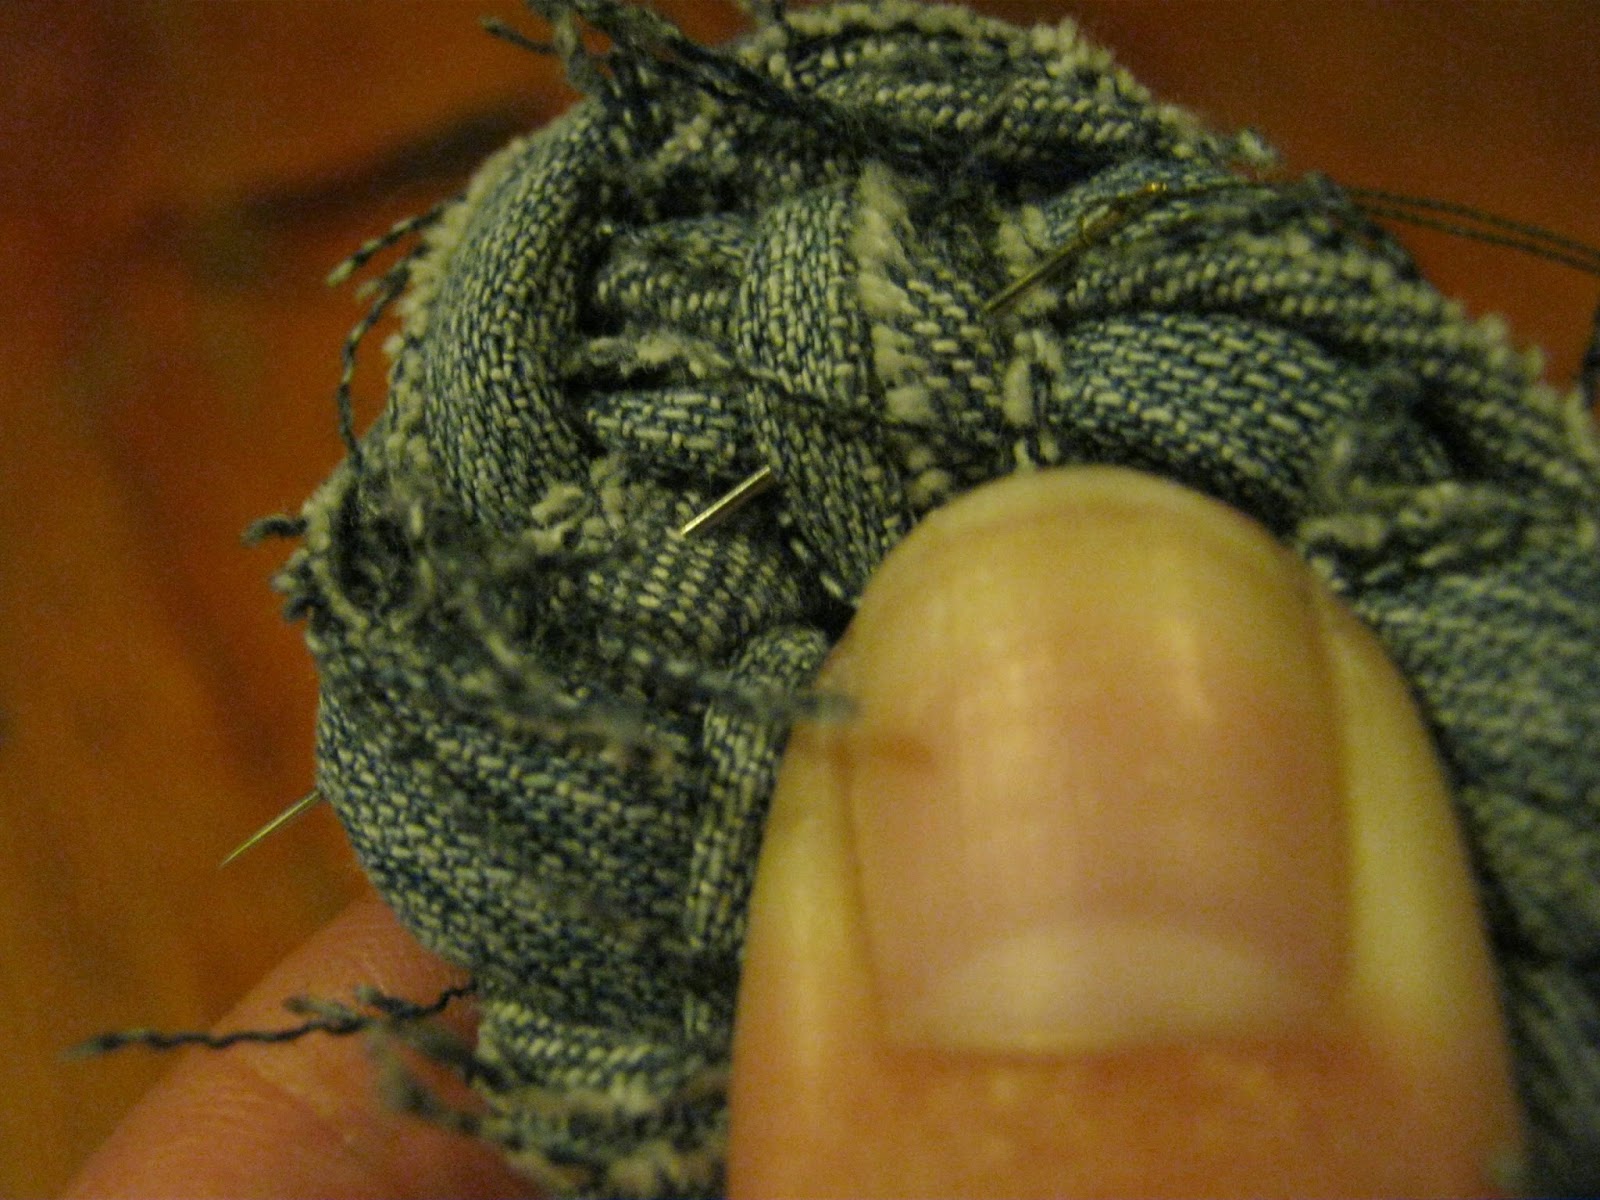
Begin curling it around itself, holding it flat, and stitching as you go.

Keep going. Now, around this part is when I realized this wasn't going to look how I wanted it to, so from this point on, I sort of just pinned it together so you could see the end result, but the process is the same. Roll and stitch, roll and stitch, then tuck the ends under and stitch them down to finish it off.

This is what you would end up with, only minus the small gaps you can see that are showing since it is only pinned. I'm standing on it for scale.
So, if the braided rag rug is your thing, then there's how to do it! I wasn't crazy about it, but the Wookie is quite happy with his rope.
<3
WW
What is he going to make with the rope? I think this would be fun in towel material for a bath mat. would give me a way to use all the random small bath towels I have. I just wish I knew why I have so many midget sized towels...
ReplyDeleteIt would look cute in terry cloth for a bathroom, I've never seen one done in that so you will have to post it!
DeleteHe's so far, used part of the rope to tie up a tree branch on a sapling to train it as it was drooping a bit...It has survived a few rains, lots of sun, and god-only-knows what else out there and is going strong!