Cute crafts, nerdy crafts, frilly crafts, girly crafts, guy-friendly crafts, ALL THE CRAFTS!

Saturday, May 25, 2013

Massive Bead Haul (Pictures with tutorials coming soon!)

The other day, my sister-in-law showed up on my doorstep with this stash of loot courtesy of her and my niece:


Beading tools and *all those boxes are full* of beads and findings!

I dove right in, sorted it all out, and had a blast!  Here's a few of the things I've made so far, and there are tutorials coming soon for the 2-strand bracelets and a leather wrap bracelet inspired by Earth Jewel Creations, (although it came out nothing like hers, hers are way better, but it is still pretty cool).

A big thanks to my sister-in-law and niece for all the awesome goodies!  I was especially excited to see all of this as I've been seeing so much nice handmade jewelry online lately and it isn't something I've had the materials to really work on in many years, so it was nice to get back into it a bit.  Now, if I can just get my bead loom set back up and start doing tutorials for that I'll be doing good!

Enough babble, on to the sparklies!


A simple 2-strand choker.


Cute little bright bracelet.


This huge hockin' thing looked amazing, but I had to take it apart.  It seriously weighed over a pound as most of those metal beads are hella heavy.  It got re-incarnated into a smaller project, but I couldn't resist taking a few pictures first.


I love these black bullet beads.


2 more bracelets.  I'm keeping the purple one, I can't bear to part with it.


A bracelet I made for my bestie.


This is a necklace, but none of the pictures of the whole thing showed up.  Also, cat hair.


Another bracelet.  This one is very small and dainty and is almost weightless when you put it on.


Another 2-strand choker.

I'm sure I'll be making more and posting many more pictures and maybe even tutorials for different patterns as I get brushed back up on all this, if anyone is interested!  :)

<3

Wookie Wifey

Monday, May 20, 2013

Fun with Airbrushing (not so much)

It got out that I'd like to try airbrushing and a friend of the Wookie's loaned me his entire setup.  Just showed up at the house with it.  So what started as an offhand comment on a whim (not to mention, I'd meant makeup lol) ended up as a project to see if I could do REAL airbrushing.  Granted there is absolutely nothing fancy here as I figured I'd start with the basics and just wanted to shoot a kitchen shelf blue, then if all went well, I was all stoked to stencil some cute designs on it.  I didn't get that far.  You'll see.


You'll need a work space.  Since I'm uber professional with everything, my work space was a massive cardboard box, some poster board to test, and the plastic shelf I wanted to start with.


Here is the compressor that was with the kit, it is so tiny and cute and I LOVE IT!  If I ever need a small compressor for any craft tools, I'll be getting one of these babies.  It is so quiet that I could hear my music from my tinny laptop speakers over it.


Here is the airbrush...gun...tool...thing.  It came with the reservoir, some accouterments I didn't recognize, and another reservoir that looked like a jar, but it wasn't in the instruction book the guy loaned me, so I didn't touch it.  Also, there's some stencils there I was going to practice with, but, again, I didn't get that far.


Paints...

 
...and even more paints.


Also, you'll need a respirator because paint flecks fly fucking everywhere.


First, I went to mixing colors because I wanted a blue that was more the color of my nails instead of a royal blue.  I kept count of the ratio of drops for future mixing.  Also, obviously fake nails ftw.


A shot of them all swirled up just because I thought it was pretty.  >.<  I found out that it is easier to mix your paint directly IN the reservoir and just spray it at paper a few times to get any un-mixed color out.


Here's the little tool hooked up to the air hose.  It just screws onto the nozzle on the bottom.


This, according to the book, is the proper way to hold one, just in case you were wondering.  This will also, it just so happens, give you the worst case of writer's cramp you've ever experienced.


Next, before you start the actual painting part, it is time to figure out how to don the respirator and exactly where the billion straps go!  Once you finally get it on, it is time to take a few selfies of yourself in a respirator just because it makes you feel like an industrial hardass.


This is the paint I started with in the reservoir.  I was nervous about the paint reservoir as it is open and I am notoriously clumsy, so I just started with a tiny amount of paint, but that didn't work and I had to add more.  It is about 1/2 full.  I worked up the courage to fill it 3/4 on the next coat, so GO ME!!  Time to start painting!  To paint, you press gently down and back on the button on top of the tool.


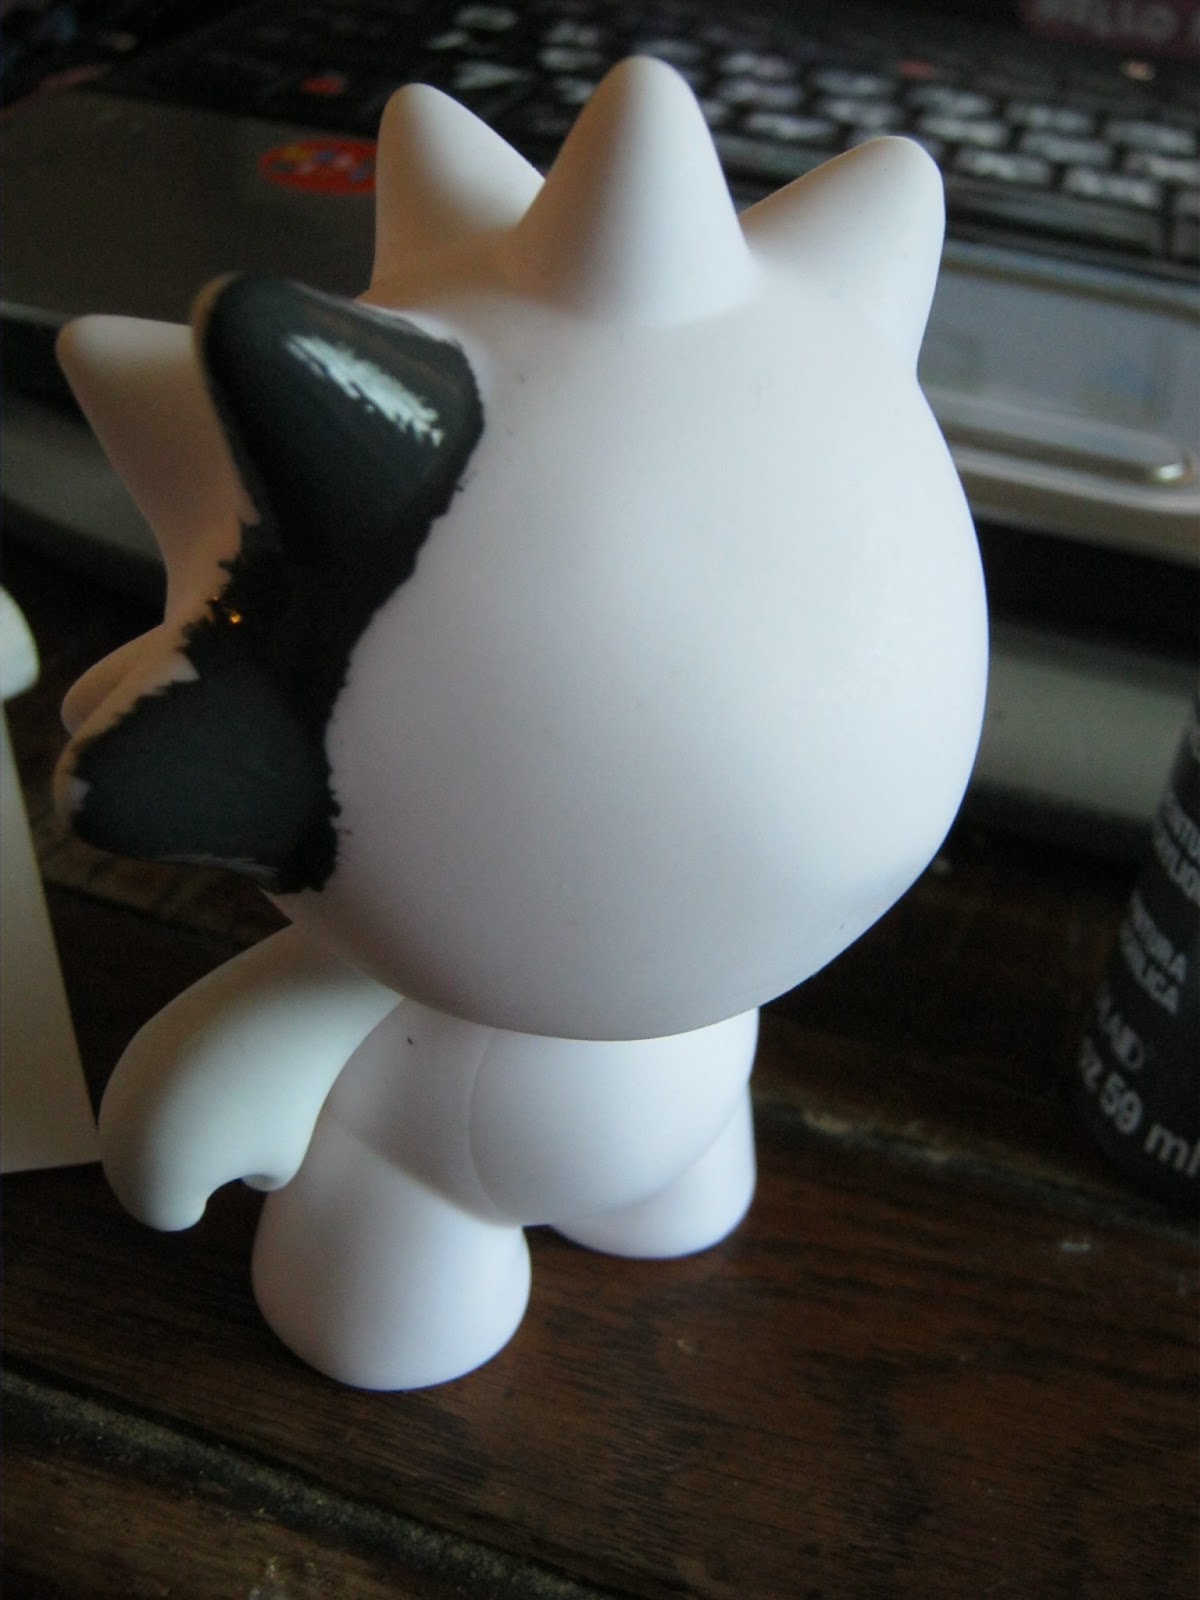
Here's the shelf I was trying to turn blue.  I like the design with the circles and the waves on the front, but wanted it blue so it isn't transparent and all the candy stickers are covered.


One coat...since this was going to be a solid color, I practiced controlling my lines and such on it.


...but sadly, after 4 coats it looked like this.


...5 coats.  At this point, I just cleaned the equipment and packed it back up.  I figured this would at least make a nice base coat for spray paint, so once it was dry, I went to put it back where it belonged.  As soon as I picked it up, the paint was just rubbing off on my hands, and it was supposed to work just fine on this type of material, according to the bottle.  I ended up plunking it in the sink and all the paint just wiped right off with a wet sponge.  All that work for nothing.

My final thoughts on airbrushing are...how to put this eloquently?  SCREW THAT.  The cleanup process, all the crap you need, etc. just aren't worth the end result, IMO.  I suppose they are if you can airbrush the super artistic stuff, but I never cared for the look of that and all the layering it takes from the instruction book was crazy confusing to me.  The stencils look neat and I was very excited to try them, but again you can just do that with a can of spray paint instead of 34598 supplies and an hour of cleanup, not to mention the cleanup you have to do between every color change.  I'm not sure I ever want to see an airbrushing tool again as I'd psyched myself up for it with all these projects I wanted to paint, but my experience was just abysmal.

Have you tried airbrushing?  Did you have better results?

I'm going to go buy some good, old-fashioned spray paint now.

<3
WW

Tuesday, May 14, 2013

Random Ramblings (Now with PICTURES!)

So, the weirdest damn thing happened.  See, I've been trying to draw since I was a kid, and the GIR drive doesn't count...Under those dozens of layers of paint are at least a thousand massive fuck-ups and re-draws you can't see.  I layered and kept covering mistakes and I'm surprised that thing isn't a 1/2 inch thicker with all the paint that's on it.

Even my family remembers me, as a kid, having wads of paper strewn across my room like a frustrated poet from trying, so diligently, to learn to draw, and this went on until I was about 13 when I finally gave up, lost interest, started chasing boys, getting into mischief, and the normal shit you do at that age.

Fast forward to last year and I decided to try my hand at it again.  Fail.  Then, a while back, we were at a friends' house and I was looking through an anime drawing book there, and it was gifted to me.  I really took it just to be polite, but when I got home I decided to give it one last shot and this is what happened:


This last one is the very first one I did.

Weird, huh?  I'm stoked about it though.  I can't seem to draw anything else, just anime, but I'm totally cool with that and intend to keep practicing.  The Wookie said I'd just finally hit a learning curve, probably because of all the crafts I do...I guess he's right, so WHEE LEARNING CURVES!

Have you ever tried for ages at something and fail only to wake up one day and nail that shit?

<3
Wookie Wifey

Friday, May 10, 2013

Color Blanks

I got a hold of this little guy via a friend.  He was just sitting around in his box all lonely and blank, so when he was offered to me, I figured I'd give it a go.  I've painted ceramics before and this is sort of easy-mode ceramics.


I forgot to take a pic when he was still in the box, but you can use your imagination.  He was basically all that was in the box aside from 3 markers, a sheet of stickers, and 4 glue dots.  Yes, that's right 4.


I looked at the tiny markers for about 2 seconds flat before I decided I was going another route.  Out came the black acrylic paint and a brush and on went his hair.


These things.  I can see they were meant to be helpful, but they were rubbish.  His head is round so I couldn't get them to lay flat, and in the end just said "screw it" and drew everything on by hand with the markers.


Here's the glue dots and the markers as proof.  Also, my paint and brush for his hair in the back as I'd already decided at this point that those tiny markers wouldn't cut it.


...And here he is!  I'd fully planned to take a bunch of pictures of the process, but my camera started the whole whining-because-I-need-to-feed-it-batteries thing again, so I was lucky it eeked these out when I was done.

The hair and sideburns I painted on with acrylic, the face and tattoos I drew on with the marker.
The jeans were made from the cuff of one of my old pairs.  I just cut out a rectangle and glued them straight to his body with Loctite and cut and formed them as needed as I went to make them look like pants.
The leather vest is from an old purse strap I cut open then just worked with it and glued it in place and used a die as a button that had been part of an eyebrow barbell and lost its friend long ago.
The chain in his fist is on there with Loctite as well and we've since found him a little sword!  >.<

A quick project and it was a nice pick-me-up to make the Wookie feel better as that is who he was given to.  I think he turned out adorable!

<3
WW

Saturday, May 4, 2013

Fairy Garden!

This really isn't so much of a tutorial as just a completed craft project, but there isn't much to show for a how-to on this one.  I mean, you plunk some plants you like in some dirt in a cool container and add some cute accouterments.  The whole project took maybe 20 minutes and has looked adorable on the window sill ever since.

I love fairy gardens and see versions of them all over, some very complicated and intricate and some simple. I decided to start with a simple one for my first one, but now I want to make more of them and will be keeping an eye out for dollhouse parts and things because I just really don't want to sit around with toothpicks making tiny little fairy houses!


The container we found at the flea market and it was hand-made.  I don't have a shot where you can see the base of it, which is a pity, because it looks awesome.  The plants were rescued from Wal-Mart, the gnomes and small stones came from friends over the years, the antler and the small jawbone were found objects and I just used a small piece of jewelry wire to fashion the swing for the little hanging gnome.


I'll have to update pictures as it will look better and better the more the plants in there grow.  It already looks different from these pictures and it has only been a few weeks!

The small thick plants on the lower-right-hand side all didn't make it except one, but all of the plants were from Wal-Mart, so they were quite beat up and in bad shape to begin with, so I count it as a victory that even one of the little dark green ones lived as they were in the worst condition, but that one is going strong and already starting to propagate.


A close-up of my little gnomes.  XD

Super easy and quick project that made a nice little pick-me-up in the living room and as an added bonus - succulents are super easy to grow and if you forget to water them for a few days, they don't mind a bit.  Also, with most of them, if you decide you like them enough you want them somewhere else, you simply pull off a leaf, figure out where you want your plant to go, bury it with the half that attached to the stem down in the dirt and the other half sticking up and it will grow!  It can't get any easier than that.  I've literally tossed leaves on the ground from these sorts of plants and had them start growing, so I adore succulents.

Any other fairy garden-makers out there?

<3

WW

Thursday, May 2, 2013

Captain's Log - Craft Archives

Finally, drum roll please, the grand finale:

Craft Archives!


Complete with photos.  From now on, craft projects will be posted directly onto this blog, but this list will take you straight to the old craft project of your choosing with minimal digging.  Hopefully.  Again, these are oldest first, most recent at the bottom just to mix things up.  Links under the photos.

<3WW

Update:  I decided to move all things to their proper places, so anything that disappears you can now find on this blog, where it belongs!  Old random and photo posts will stay on How to Feed a Wookie, but any future ones will go on this blog.


*whew*