Cute crafts, nerdy crafts, frilly crafts, girly crafts, guy-friendly crafts, ALL THE CRAFTS!

Saturday, July 27, 2013

DIY Soap Part 3 - Foaming Hand Soap and Dish Soap

So, its been one of those days.  Not a particularly bad day, just one of those days where I do cleaning, picking up, finish off a few craft projects that have been waiting in the wings forever, then I look around and...Somehow the house looks worse than it did before I stared.  Explain that one.  For that reason, I decided to plunk these two in together because they are quite similar and are the two easiest ones of the bunch, so tonight's post will be quick and painless (but at least I remembered!)


Get two large buckets or containers to mix these up in.  For the dish soap, you'll need a mix of 1/2 castile and 1/2 water.  Since I did the mega batch, I used 96oz each.  For the foaming hand soap, you need 24oz liquid castile and 168oz water and you can add essential oils if you'd like.  Feel free to scale that down, lol.  Either of these will work in a foaming hand dispenser, and the foaming hand soap is SO PRETTY!


The dish soap I stored in an old milk jug since we have a dispenser.


...And some of the foaming hand soap with one of my dorky labels!


Hard to tell in the pictures, but it is pearlescent and swirly and shimmery and awesome!

<3

WW

Friday, July 26, 2013

Soaps Pt. 2 - Facial Cleanser & Body Wash....and I suck.

DISCLAIMER:  I am in no way a professional at any of this, I'm just a tree-hugger trying to make my own natural products that are better for my skin, the environment, and save a buck to boot!

Yeah, yeah, I got really tired yesterday and forgot to post, so I suck, I know.  BUT I'm going to post double today to make up for it!

Still love me?

As a result, this will be a very long and image-heavy post, so grab a cup of coffee or tea and kick back.

Today, we'll finish up the laundry soap post and move on to face and body wash.


My laundry soap sat overnight, and I opened it up the next morning to the above.  Yep.  Big bucket o' goo.

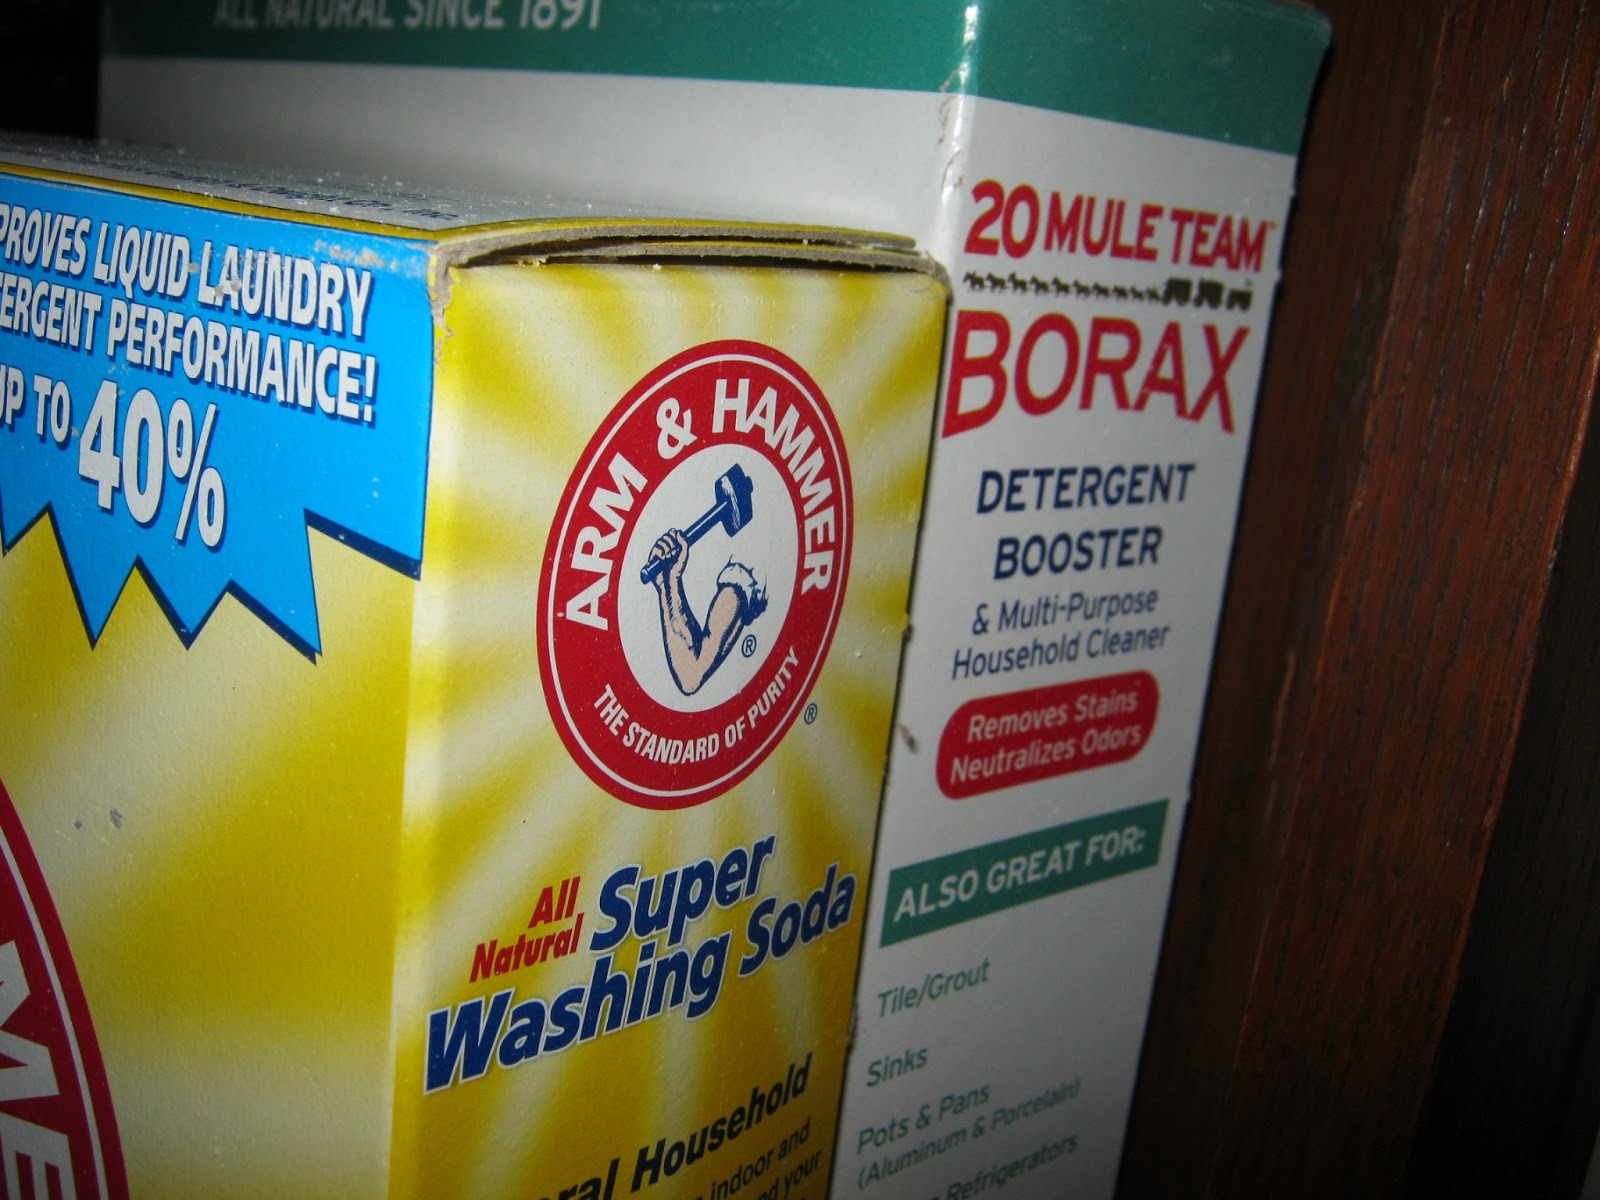
Divide your bucket o' goo into two half-buckets o' goo.  Add one gallon of warm water to each bucket, 2 cups at a time, and stirring your ass off until most of the clumps are broken.


You should have this.  About 7 gallons.  Yes, from ONE bar!  I haven't used it yet as I'm still trying to use up my icky store-bought one, but I can't wait and I will be reviewing it!  The Wookie LOVES the smell and commented on it several times as I was mixing.  You use 1/3 to 1/2 of a cup per load, so that's 336, I believe, on the 1/3 cup, so for us that's about a year's worth or more.  AND I'm sure I'll have to play with the measurement because I sort of looked at a ton of recipes in some old books and combined parts of several to come up with a mixture that I thought would work well for us.

Update:  This stuff got out stains commercial soaps couldn't.  It leaves no scent on the clothes when you line-dry, though I can't vouch for a traditional dryer.

+++++++++++++++++++++++++++++++

Next up:  Face wash and body wash!  I'm doing these together as the recipes are quite similar, so I actually made them at the same time in my kitchen.


This is the face wash and I want you to stare at it.  *.*  I want you to admire how pretty it is because this is the first time I've ever done anything like this and it looks beautiful and smells great and I'm so proud of myself.  Don't be surprised when there's pictures like this interspersed through the rest of the post.

 For this and the body wash, you will need the following:


apple cider vinegar
green tea
rosemary
thyme
eucalyptus
lemongrass
sea salt
oatmeal (camera shy) 


 Yesterday, we left off with 3 gallons of castile soap turned into liquid.


Start with pouring 48oz of your liquid castile soap into one bucket.  This is your face wash base.


Pour 72oz of liquid castile in another bucket (or large soup pot).  This is your body wash base.
Next, boil two pots of water - one with 12 cups of water for the face wash and one with 1 3/4 gallons for the body wash.  If you don't have a large enough stock pot to boil that much, you can cut the things we'll be infusing in them in half and do smaller batches, it will just take a little longer.


While the water is heating, prepare some goodies to infuse in the water.  Here's what I chose to use in mine and why:

Lemongrass (face and body) - Obviously, the smell.  Lemongrass smells amazing, but as an added benefit, it also has anti-bacterial properties.

Thyme (face and body) - this can help control greasy skin and is also good for respiratory problems and fatigue.  The Wookie and I both have allergies and I have grease-face in the summer, so this was an obvious choice.

Rosemary (face and body) - also good for geasy skin and fatigue and soothes sore muscles to boot!

Green Tea (face and body) - anti-inflammatory!  This means good for breakouts and swollen red spots that surround them.  Also, well, what doesn't it do?  You can google it yourself, or check out this article.

Oatmeal - (face and body) - Softens the skin, added quite a bit of thickness to the mixtures,

Sea Salt - (body) - this contains calcium which can help keep clogged pores at bay, also, sea salt can help sooth sore muscles and is, I think (don't quote me on this one, though), also raises Ph levels.  (Help on that one?  Sayward?  Anyone?)

Eucalyptus Oil (face and body) - Great for allergies or colds because this shit will open you up quick.

Note that I used dried herbs from the pantry...That's all I had, so I just went with it.  This would be a billion times better if you had fresh stuff, though you'd have to tinker with the measurements.  Also, you can look up what herbs will work best for your skin, but be sure to note that Thyme and some others are NOT to be used if you are pregnant or nursing, so do your research!


Once your water is boiling, remove the pot from the burner before you start adding things.  I used 2c of oatmeal in each pot, then just started adding in herbs.  Honestly, I didn't measure anything as the mixture you use will be entirely up to you.  Just toss in the oats, then start adding herbs, a little at a time, let them steep for 5 minutes or so, give it a stir, and smell it.  If you think it needs more, add a little more, let it steep, and give it a check again.  Sooner or later, you will come up with a mix that's just right.  I also added tea bags on this part, but they are hidden under the oats, lol.


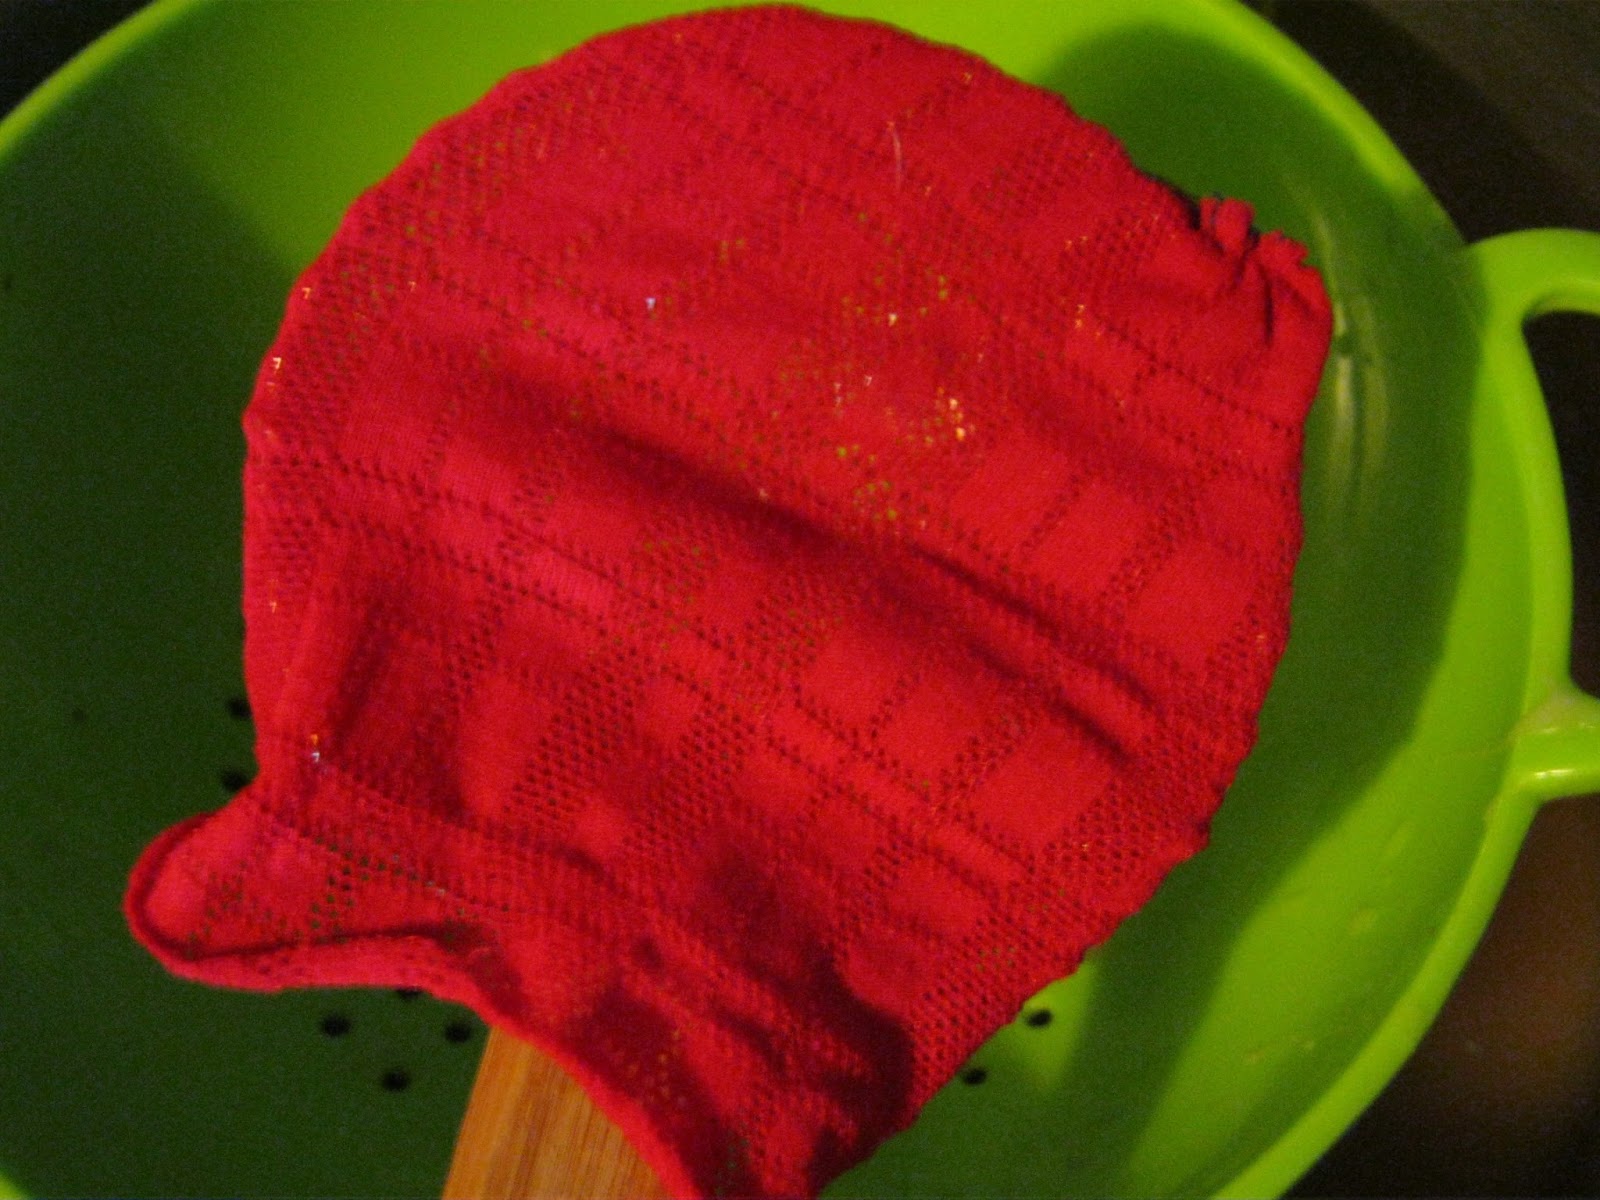
Time to strain all that gunk out of the water!  If you had a ton of cheesecloth or massive tea balls or something to boil it all in, then awesome, but I don't.  I tried a few methods that totally didn't work, so I ended up cutting up a clean stocking and straining everything out this way.  Except the spoon was way too small, so I upgraded...


 ...to stretching it over a jar!  My victory dance was short-lived when I realized even the jar was too small for this amount of oats.  What ended up working was the Wookie holding the stocking up while I poured the whole concoction through it into another pot (with a strainer set in it in case we had any runaway oatmeal).

After I'd poured it all through, the Wookie got a look on his face that I can only describe as the look a 12-year-old boy gets when he finds something delightfully gross, nodded towards the stocking and said "I wanna squish it."

Of course, we need to squish it anyway to get as much liquid as we can out of it because all the best part is still in there, so I told him to squish away!


He had way too much fun with it.


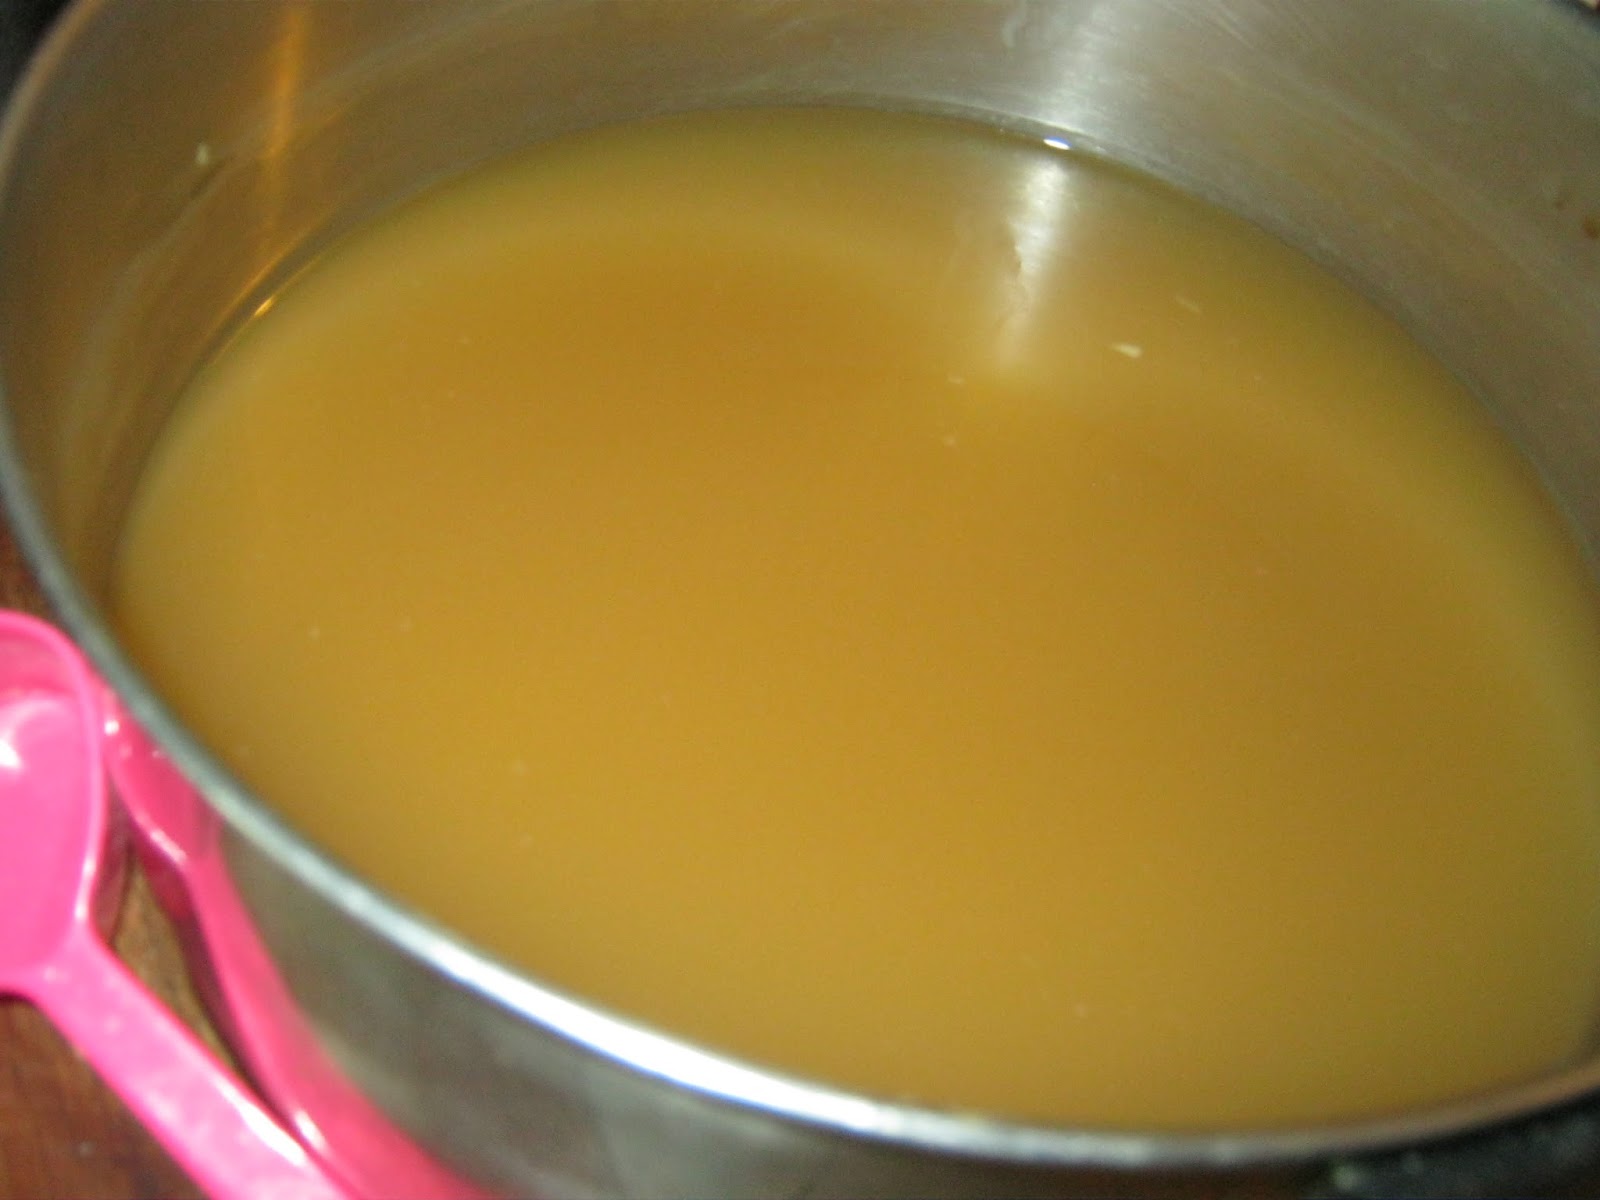
See how the stuff in there is concentrated?  Also, some of the oatmeal basically liquifies and can be mixed in with the washes and it makes them even more luxurious.


This is the face wash liquid after the gunk from the stocking was all stirred in, but BEFORE adding it to the castile bucket.  I didn't take a picture of the body wash because they looked pretty much the same at this point.


...And this is the body wash liquid after being mixed in with the castile.  Yes, it has a few soap chunks.  I got distracted and ended up letting the water for the last batch of castile cool a bit more than I should before getting it all stirred up because I was scampering about.  No biggie, though.  Next time, I'll do better.


Now, as with anything with herb-infused water, you should store all this tightly sealed and  in a cool, dark place.  I've heard of people melting parafin wax and dripping it onto the top of the product in wide-mouthed jars to seal all the air out of it before putting on the lid, but I've never tried that method.  Anyone tried it?

At any rate, we're in the south, guys, and there is no such thing as a cool, dark place in July, so I froze some of the body was flat in gallon ziplock bags to save space and stacked them in the freezer and stowed the rest of the bottles in the freezer or fridge.  If I had a nice, dark pantry that stayed cool or a basement or cellar to stash them in, then I'd store them there, but since it tends to literally hit 100 degrees INSIDE the house if we leave for the day and leave the air off, I figured the fridge and freezer would be my best bet.


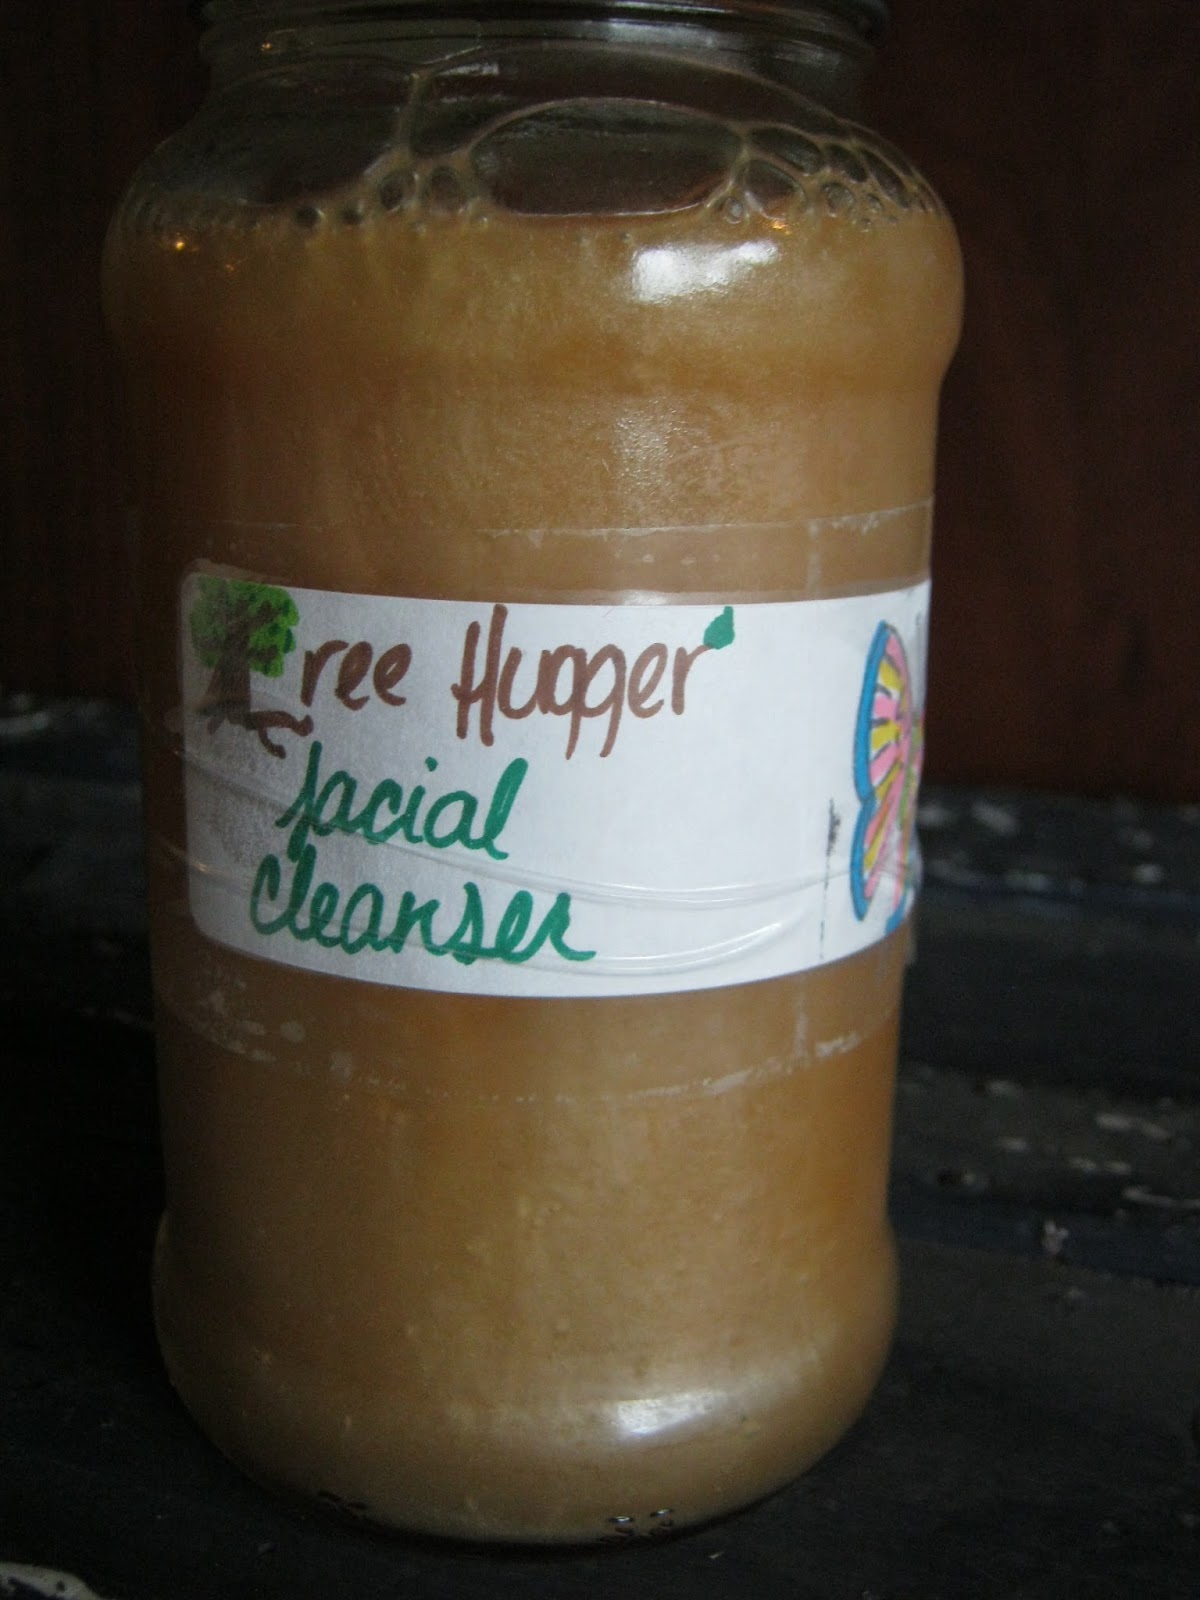
My gorgeous face wash again.


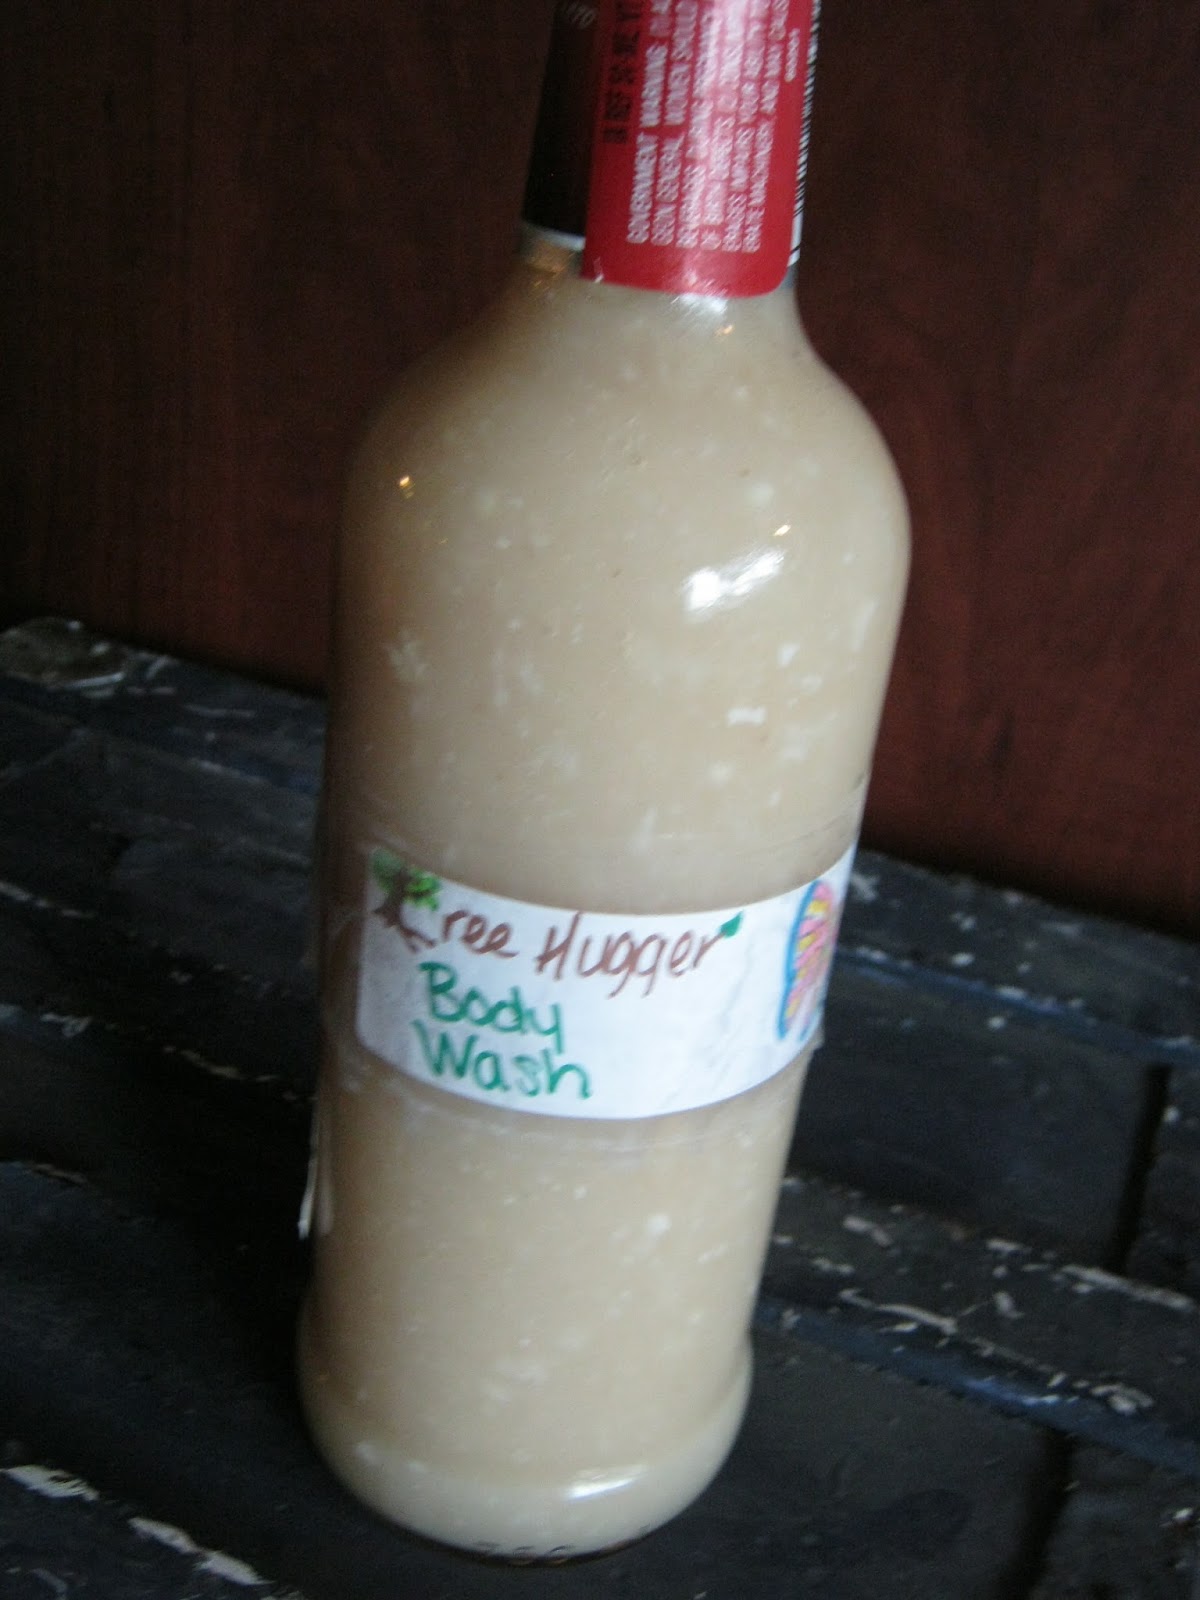
....and the body wash.  You can see the soap flakes, but as I said, I'll be less disorganized next time.  It still smells great and both of these came out nice and thick, though keep in mind homemade products DO NOT lather the way store-bought ones do, however they make up for it in being about a gazillion times better for your skin.


 Extra credit:  Make labels!  I dug out the vintage stamps and my markers since we don't have a printer.

***Update: I wasn't crazy about the body wash, so I admit defeat on that one.  I'm still absolutely in love with my face wash, though, and will try body wash again with a modified recipe in the future!

Whew!

<3

WookieWifey


Wednesday, July 24, 2013

Homemade Everything - Laundry Soap pt.1 and Making Liquid Castile from Bars

How would you like to pay roughly 35 bucks for about a year's worth of laundry soap, dish soap, body wash, face wash, all-purpose cleaner, toilet cleaner, foaming hand soap, and shampoo? (I wasn't happy with my shampoo recipe, I'll try again sometime.)

That sound okay with you?

Well, that's what this next series is about!  Over the next 7 posts (hopefully in 7 days!) I'll tell you all about it.  I started this process because of my skin issues in addition to the price.  I've found that a lot of products that claim to be organic aren't and that even some of the "certified" ones I have odd reactions to even when their ingredient list is the same as other certified products I've had no trouble with.  It seems you just can't trust the labels at all, so I figured the hell with it, I'll just make it.  Been wanting to do it forever, but I've just now gotten around to it and now I'm kicking myself for not doing it sooner.

This whole bit may cost you less than 35 bucks, but even though they are simple ingredients, I couldn't find the main ones anywhere around here, so I had to order them online and have them shipped to me.

Let's start with the basics!  In case you want to make a shopping list, to make everything I will be making over the next several posts, you will need the following:

3 (or 1) bars castile soap of any brand or scent
1 bar Fels-Naptha soap or any solid, bar laundry soap
2 1/2 (or 1 1/2 + 1/3) cups borax
2 1/2 (or 1 1/2 + 1/3) cups washing soda
4 cups oatmeal  (or 1 1/2 cups)
rosemary
thyme
eucalyptus oil
1 cup sea salt (or 1/3 cup)
14 green tea bags (or 5)
32 oz white vinegar (or 10oz)
1c apple cider vinegar (or 1/3c)
8 tsp olive oil (or 2.5 tsp)

Keep in mind, you can cut the recipes for everything but the laundry soap in thirds using the numbers in parenthesis (roughly - I'll be more exact when I post the recipes) since I did a triple batch of the cleaners and skin care products because I'm a go-getter like that.  Also because it looks like MUCH less on paper.

Today, we'll be focused on the basics, which is turning all those bars of soap into liquid and getting day 1 of the detergent done - it isn't as daunting as it sounds.  It only takes two days for the laundry soap as it has to sit up overnight.


First thing, boil loooots of water.  You'll need 1 gallon per bar of castile soap, so that's 3 gallons.  I boiled them all separately to make sure I had the measurements right and because most of my pots only hold one gallon or so.  You'll also need to boil 4 cups for the Fels-Naptha.


This is the castile soap I used.  There's liquid castile soap online, but I opted to make my own since I can make a gallon for way cheaper than they want for a small bottle of liquid.


You'll also need some buckets to mix things in.


...and every empty container you can lay your grubby little mitts on.


Now, grate the soap!


This is the Fels-Naptha for the laundry detergent.


Once your soaps are grated and your water starts to boil, pour the four cups into a bucket, add the shredded Fels-Naptha soap, and stir until it is all melted.


Then, fill the bucket to the half-way point with warm water and add 1 1/2 cups each of Borax and washing soda and stir it all up.  Fill the bucket up the rest of the way with water, wait 15 minutes, stir it again, then put a lid on it until the next morning!  This was all super hectic since I did most of it alone, so I don't have pictures of every single step, sorry!


Once your laundry soap is sitting up, mix up 1 bar of castile soap to one gallon of boiling water and you should have a clear, liquidy, nice-smelling substance that looks like that above.  Repeat three times if you're doing a triple batch!  You've just made 3 gallons of liquid castile soap!  :)  Or one.  Up to you.

If you decide to make a triple batch, this is what you will get out of it - note the laundry soap and about 5 liters of other soaps aren't pictured.


Still pretty impressive, eh?  The only bottles not full to the top are the few you can see in the front and up top.  I'll leave an itemized list of everything this made at the bottom of the post.


I'll post day 2 of the laundry soap and the rest of the other recipes starting tomorrow along with my cute labels I ended up making for the bottles for my new cleaning and skincare lines!

Here's a sneak peek of one of them:


Itemized List for entire batch - not scaled down: (estimates close - allow a few ounces for adding extra oils, etc.)
201oz Shampoo
192oz Foaming Hand Soap
192oz Dish Soap
144oz Face Wash
288oz Body Wash
52oz All-Purpose Cleaner Concentrate (at 2oz/1 3/4c water, so 26 - 16oz bottles)
104oz (I think that's right) Toilet Cleaning gel (can be cut 1/2 and 1/2 with water as it is a THICK gel, much thicker than store-bought)
7 gallons laundry detergent

This should last the Wookie and I about a year at least, for most of it (two person household, one bathroom).  Maybe longer.  I'll have to get back to ya!  Sorta-kinda worth 35 bucks!!!

<3
WookieWifey

Monday, July 22, 2013

Skirt Re-sizing II

I went on a skirt re-sizing kick recently.  Most of the thrift stores I shop at don't have fitting rooms and even if they did - let's be honest...I hate to try on clothes.  As a result, I had a pile of skirts in a box that needed surgery.  One was too big, two were too small, and one really needed a slip worn under it but since those are the devil in the summer, I decided to do something else that you'll see in the future....

Anyway, I figured since I was working on all these skirts, I may as well post tutorials!  I sized the poodle skirt up a size or two so it would fit, but it had an elastic waist and this one was a  bit different because I went from elastic to drawstring.


As soon as I saw this hand-made color block skirt, I knew I had to have it.  Add that to the fact that it was 2 bucks and...well, you do the math.  When I got it home and put it on, it fit but juuust barely.  It was tight and squeezed in all the wrong places, creating rolls I don't have which I don't really need help with, but I did appreciate the offer.  Since I could afford to sacrifice a little length, I decided to fix it and into the box it went until months and months later when I finally got off my lazy ass.


The first step was pulling this rope-thing off the front.  The skirt had an elastic waist with this for some reason stitched onto the front part of it.  It is thick and plushy and I guess you were supposed to...Tie it in a knot?  Hang your foes with it?  Either way, it wasn't working for me.


So, the first thing I did was take all that crap out of it so that once it was flat, I could use it as the drawstring.  I snipped one end of it off and yanked that rope up there out of it.  Rope wasn't enough.  They wanted a REALLY fluffy string, guys.  They packed it with this stuffing that was a bitch to get out.  I ended up shoving that chopstick through the tube, narrow end first, and working it all the way down to force all that crap out.  How they packed all that in that tiny tube then sewed it shut is totally beyond me.


Next step, I trimmed off the elastic.


Once that was done, I laid it flat on the floor, then put a skirt I had on top of it that fits like a dream.  Using that as a guide, I left a little space on each end to allow for drawstring-ing and folding over since with a drawstring skirt, I wanted it to be a bit large as I don't like the look of a drawstring that's pulled allll the way tight.


Once I had that part, I folded the hem over towards the inside twice and pinned it all the way around.  Much easier with this type of skirt!  Next, you'll need to press that seam, and if you're me, that means getting a little inventive.


Don't judge me.  I don't even own an iron, guys.  I pressed the hem all the way around with my straightening iron and it worked like a charm!


See?


I threaded a needle with a navy thread, then began sewing the bottom of the tube up.


My stitches are ugly, yes, but with the print and the gathering after draw-stringing you can't even tell.


Once I had it stitched all the way around, I cut small holes about an inch and a half apart on the side, then stitched all the way around them with a blanket stitch (WOO, TECHNICAL TERMS!...I just hope it is the right one) so it would hold nicely, then I ran the drawstring back through with a safety pin.  I wanted the drawstring to sit inside the skirt, which is why I put them inside and on the side.  The way the skirt flares out when you put it on, you can't even see the strings underneath.

I'd have posted an "after" picture, but to be honest, I guess I did a pretty good job because I couldn't even tell them apart once I got them uploaded!!

Helpful at all?

<3
WW