Cute crafts, nerdy crafts, frilly crafts, girly crafts, guy-friendly crafts, ALL THE CRAFTS!

Friday, August 23, 2013

Felt Kitty Plushie DIY

~*~*~*~*~*~*~*~*~*~*~*~*~
No, your memory is not failing you, nor is it that funny taste that may have been in your drink.  Although, if that actually happened, you may want to look into it.  You may have seen this post before.  In an attempt to make everything easier to navigate for everyone, I am working on transferring all of the old beauty and craft posts from the recipe blog to their appropriate homes on the newer wings.  I'll be only one a day so as not to clog up your feeds, so please bear with all the boring re-caps!
<3
-WW
~*~*~*~*~*~*~*~*~*~*~*~*~

This is the longest tutorial I have ever done by far, but it was worth the adventure and the effort because the result is undeniably adorable.


I'd been seeing hand-made felt plushies all over the web and really wanted to try one, but my sewing skills are meager at best.  I decided to take a stab at it anyway, and I'm glad I did because she's pretty cute.  I didn't follow a pattern or anything, and its all by hand since I neither own, nor can operate a sewing machine, but here's how I made her.


First, I cut out her shapes.  I figured that big piece would be a good basic body shape, so I drew it out on the felt with a sharpie then cut it out of two layers so I had two of those.  Then, I cut out the eyes, ears, nose, tail pieces (not pictured since it didn't occur to my dumb ass until several minutes later that she'd need one) and the 4 little triangular arm pieces.  I drew out the arms, but the rest I just free-handed with the scissors...Free cut?...Free scissored?...Free snipped?

Anyway.


I picked the piece I wanted to be the front and stitched on her eyes and nose and embroidered any details I wanted.


Then, its time to sew up all her little extremities.  I cut out two teeny little pieces of foam, squished them between the arm pieces, and stitched all the way around.  I originally wanted to sew her inside out then flip her right-side out and stuff her, but that wouldn't work as the only stuffing I had was this sheet foam stuff.  I told you, I don't sew.


Once i had the arms done, I cut two little slits in her body where I wanted them to go, then gently pulled the skinny ends of the arms through the holes.


Once they were through, I pinched them together and stitched them on from the inside.  You can also see here, that I flipped the piece of felt so that the sharpie outlines go on the inside...Good thing to keep track of.


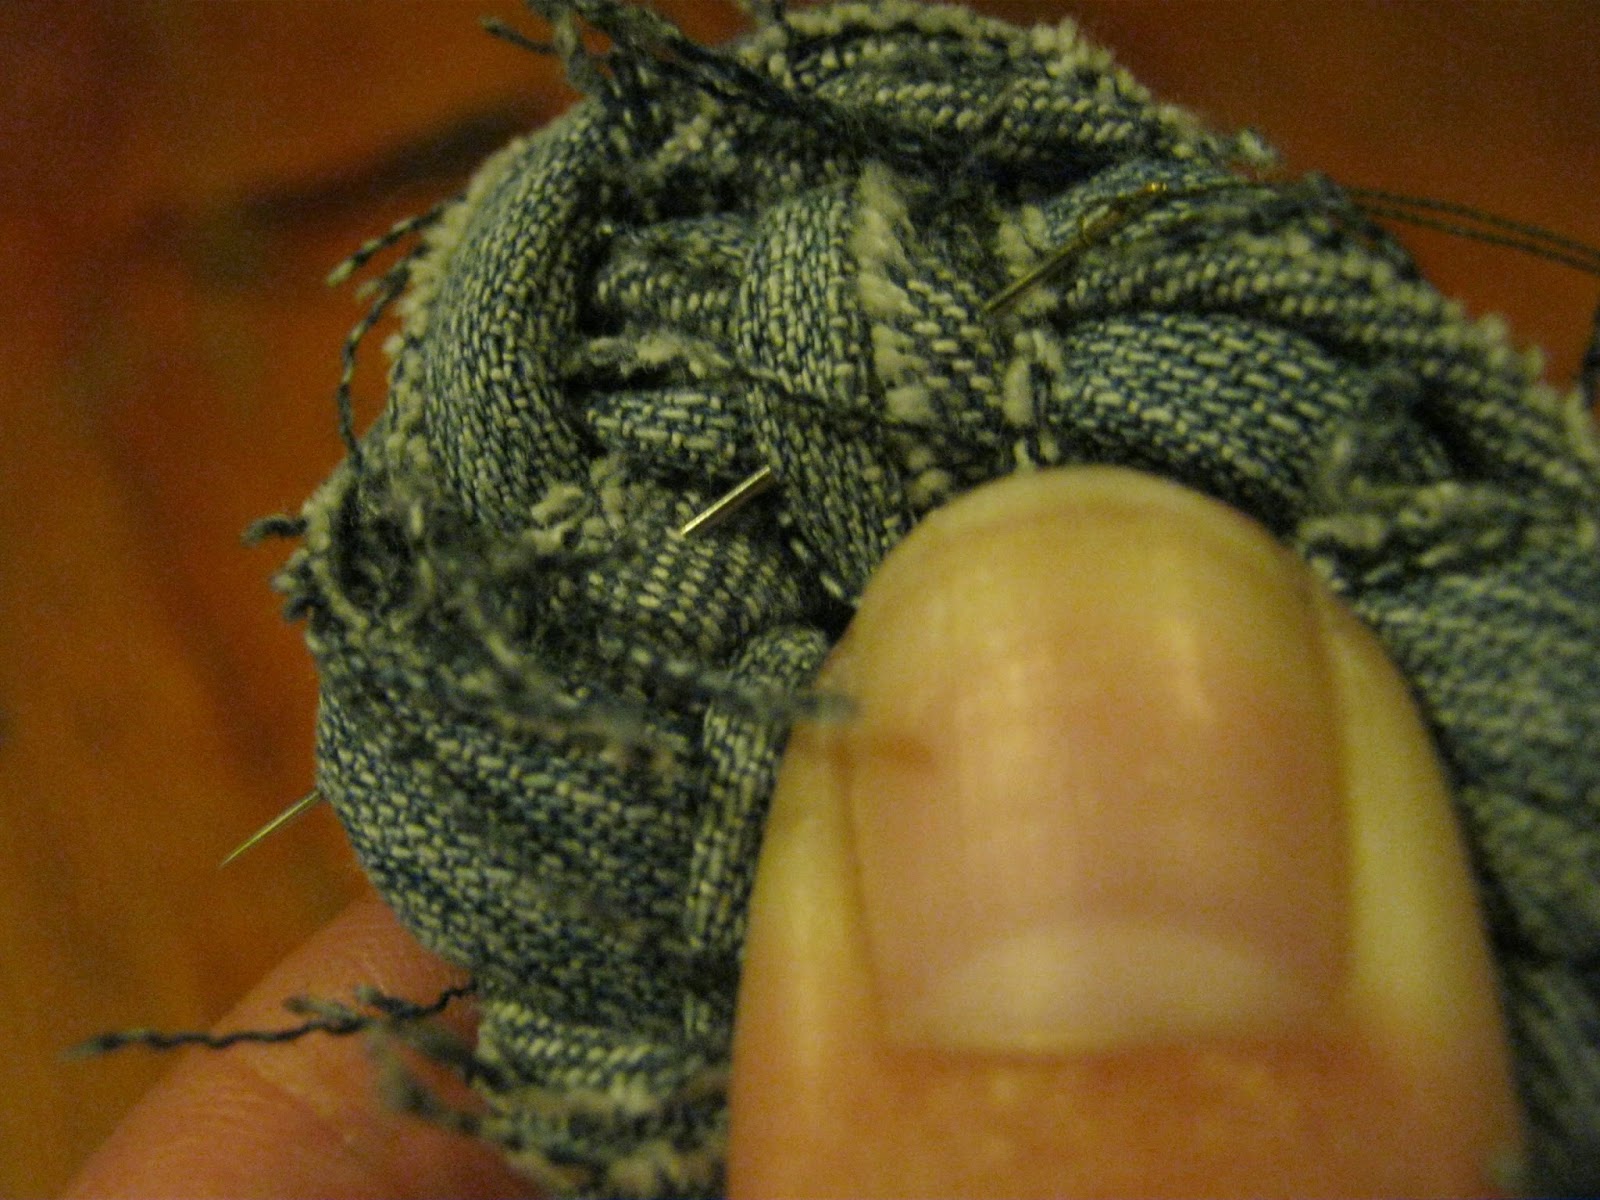
Now, for the tail.  I wanted the tail to be bendable, so I folded up a pipe cleaner to go in it.  I bent it to the basic shape, making the end that would attach to her bum thicker by folding the pipe more there, and twisted the ends of the pipe cleaner into itself so it would poke through the felt.


Then, I stitched one side of the tail together, went about half way down the other side, then put the pipe cleaner in.  Then, holding the pipe cleaner between the felt, I stitched it up the rest of the way around.


Now, to attach the tail, take the back piece of your  kitty and snip a little vertical slit where you want her tail to sit.


Stuff it through and stitch it on the way you did the arms.  You'll just have to go for it since this, sadly, is the best picture I came up with.  Fail.


Next, put the pieces together, cut a piece of foam that is only slightly smaller than your animal but in roughly the same shape, stack them together sandwich-style, and begin stitching all the way around.  Don't forget to add the ears in when you get to the place on the head where you want them.  Just add them to the sandwich, pin them in place if you want, and just keep sewing.


Done!


Now, Kitty from all angles!  I added some of my old earrings to her...


And an old skull charm.  Eventually I'll replace the embroidery thread collar with a ribbon one, but I don't have any ribbon.  I'm a horrible, broke crafter.


From the back...


And one more just for fun.  I completely on accident made her tail just long enough that it causes her to stand on her own, which is a real added bonus.

Let me know if you make one of your own, I'd love to see it!  I also made a 6-zombie mini-horde of felt zombie plushies for the Wookie, but I'll save those photos for the one of the next snapshot posts I decide to do...Give you something to look forward to and all.  :)

<3
The Wookie Wifey

Tuesday, August 20, 2013

Random Photo Post - Valentine's Edition

~*~*~*~*~*~*~*~*~*~*~*~*~
No, your memory is not failing you, nor is it that funny taste that may have been in your drink.  Although, if that actually happened, you may want to look into it.  You may have seen this post before.  In an attempt to make everything easier to navigate for everyone, I am working on transferring all of the old beauty and craft posts from the recipe blog to their appropriate homes on the newer wings.  I'll be only one a day so as not to clog up your feeds, so please bear with all the boring re-caps!
<3
-WW
~*~*~*~*~*~*~*~*~*~*~*~*~

More random stuff!  I figured I'd post a bunch of flower pictures I took last spring in honor of today.  New recipe soon.  Until then, Happy Valentine's Day to everyone and enjoy the pictures!  <3


Did you know these cute little pink flowers on redbuds are edible?  I didn't.  They taste sort of like lettuce or greens, crisp and fresh, and make salads look adorable!


I took all these pictures myself, so if you want to use any of them feel free, just please leave the blog address on them and/or shoot me a link back.  :)

<3
The Wookie Wifey

Sunday, August 18, 2013

Simple Strand Bracelets


~*~*~*~*~*~*~*~*~*~*~*~*~
No, your memory is not failing you, nor is it that funny taste that may have been in your drink.  Although, if that actually happened, you may want to look into it.  You may have seen this post before.  In an attempt to make everything easier to navigate for everyone, I am working on transferring all of the old beauty and craft posts from the recipe blog to their appropriate homes on the newer wings.  I'll be only one a day so as not to clog up your feeds, so please bear with all the boring re-caps!
<3
-WW
~*~*~*~*~*~*~*~*~*~*~*~*~

These easy things I came up with yesterday out of sheer boredom.  I haven't been crafting nearly as much as I'd like because my supplies have been dwindling and sadly, so has the budget.  I always seem to have parts for what I want to make, but not everything.


Cute, eh?


First off, get your supplies ready.  I used a few doodlebobbers I had lying around.  Miscellaneous broken jewelry parts, etc.  I was going to use the washer up there, but it was just too big for the look I was going for...Although, I have done the washer necklaces before in the past, and they come out adorable.  (LOVE tool parts and other unconventional items in jewelry.)  I wanted to use brown thread in place of the purple, but I was out so I pouted for about 3 seconds then picked purple.


Next, cut 2 equal lengths of the same color.  Or, I guess you could use 2 different ones if you're feeling like living life on the edge, you crazy bastard, you.   My threads were about 8 inches long each, but I trimmed quite a bit off in the end, I'm just majorly paranoid about not having enough string when I do stuff.


Next, fold each strand in half.  Take one strand and thread the folded loopy part through one side of your bauble of choice.


Then, take that thread's tail and bring it through the loop and pull it tight.


Repeat on the other side, then tie it on and trim the ends.  Done!  You could do some sort of fancy clasp if you wanted, I guess, but I never do when I make jewelry out of embroidery floss...To me, the fun part about this kind of stuff is that it is good for spring and summer.  You can play hard in them, shower in them, whatever...And if they break, its no biggie.  I usually end up getting tired of them after a month or two and cutting them off anyway.


Feel free to go nuts with these little guys.  It took me maybe 10 minutes to make all 3, pictures and all.  Meaning it only took ten minutes out of my "poor me, I'm bored" internal monologue, but they are cute.

<3
The Wookie Wife

Tuesday, August 13, 2013

Braided Denim Rug Tutorial

I actually hated this and took it apart as soon as I was done.


The Wookie was stoked because he wanted the denim rope before I'd turned it into a rug, so it was still a good thing.  It came out the way it was supposed to, but I just didn't care for it once I was seeing it in person, so I figured I'd go ahead and post it because, chances are, someone out there will like it!  If that's you, then here's how ya make one:


First, you need old jeans.  It took about 4 pair to make this rug, if I remember correctly.  Keep in mind most of them were mine and I have crazy long legs and have to buy a 37" inseam, so you may need to adjust!

After that, you need to cut the legs of the jeans into strips length-wise that are about an inch to an inch and a half thick, but I neglected to take pictures of that.


 Next, begin braiding all those pieces together.  I found it was easiest to hold the tops of three strips together, stitch them all at the top, then braid from there.


 After a while, you'll get to a point where you reach the end of the strips you've started with, so it is time to sew on more.  I wanted to sew as I went instead of sewing them all together and dealing with this huuuuuuge strip of fabric.


 I pinned my braid so it wouldn't unravel, then stitched more lengths of denim to the ends of the ones already braided.


Then, it is keep braiding and stitching....


....and braiding and stitching...


NOW we've gotten somewhere.  Somewhere blurry, but still somewhere.


Now that you have a massive braided denim rope, it is time to turn it into a rug.  Lay the end flat on a surface and loop it over a few inches as shown.  This will be your starting point.  I wanted (well, thought I wanted) a round rug, so I made mine small, but if you want an oval one, just make your starting point longer.


Flip it over and begin stitching it together.  It doesn't have to be pretty as this will be the bottom.


Begin curling it around itself, holding it flat, and stitching as you go.


Keep going.  Now, around this part is when I realized this wasn't going to look how I wanted it to, so from this point on, I sort of just pinned it together so you could see the end result, but the process is the same.  Roll and stitch, roll and stitch, then tuck the ends under and stitch them down to finish it off.


This is what you would end up with, only minus the small gaps you can see that are showing since it is only pinned.  I'm standing on it for scale.

So, if the braided rag rug is your thing, then there's how to do it!  I wasn't crazy about it, but the Wookie is quite happy with his rope.

<3

WW